Collect your materials and prepare your work space. You will need these basic sewing tools: Sewing machine (hand sewing is an option), iron, scissors and pins.
Materials:
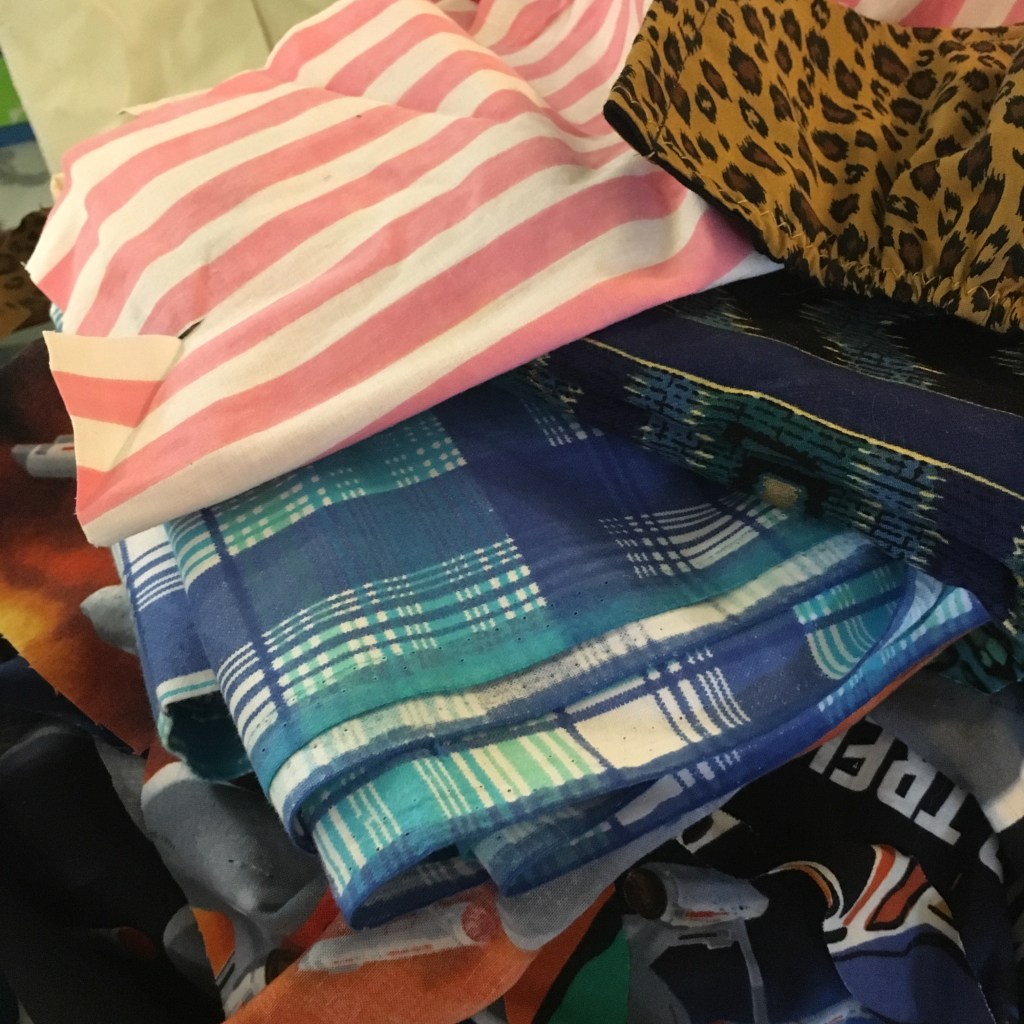
20cm x 40cm – Fabric A
20 cm x 40cm – Fabric B
1 spool- Sewing Thread
1 needle- Size 10-12 regular
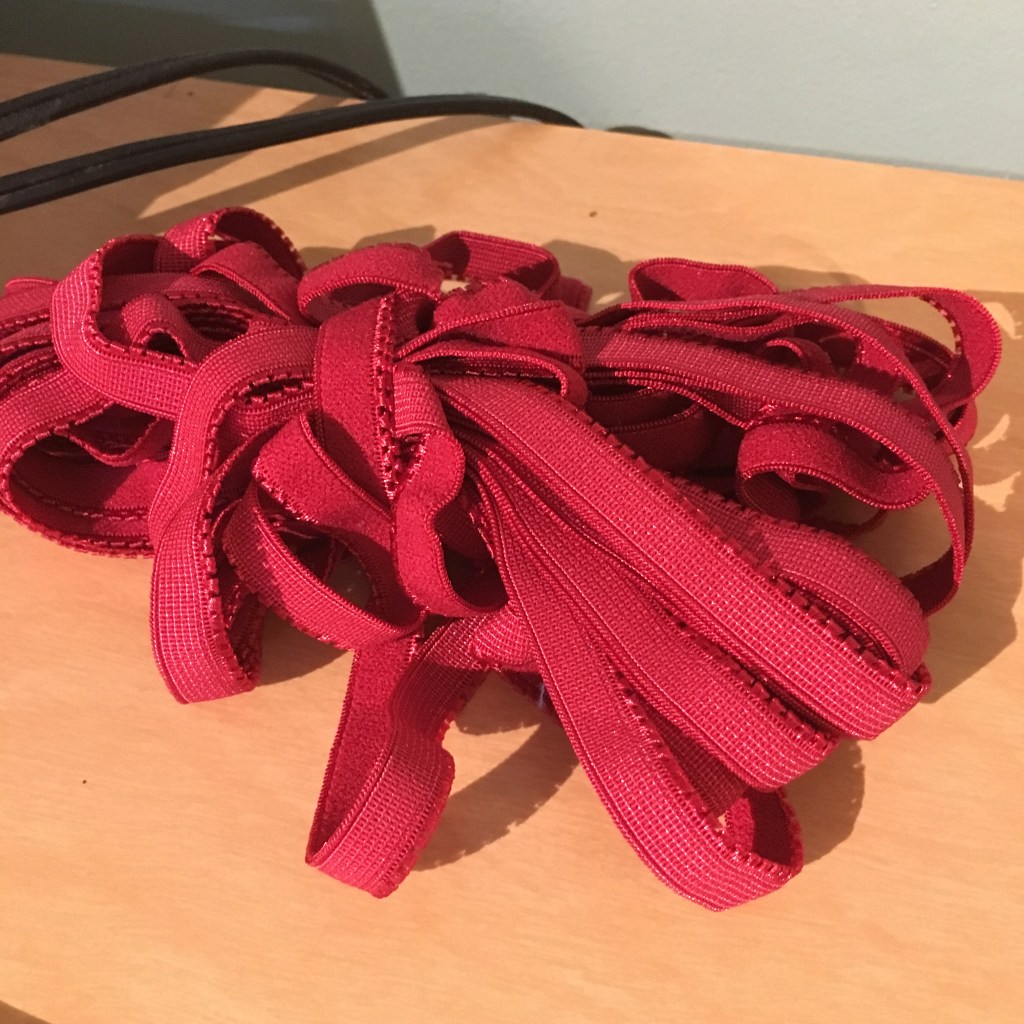
10cm- Elastic (1/4″ – 3/8″ wide)
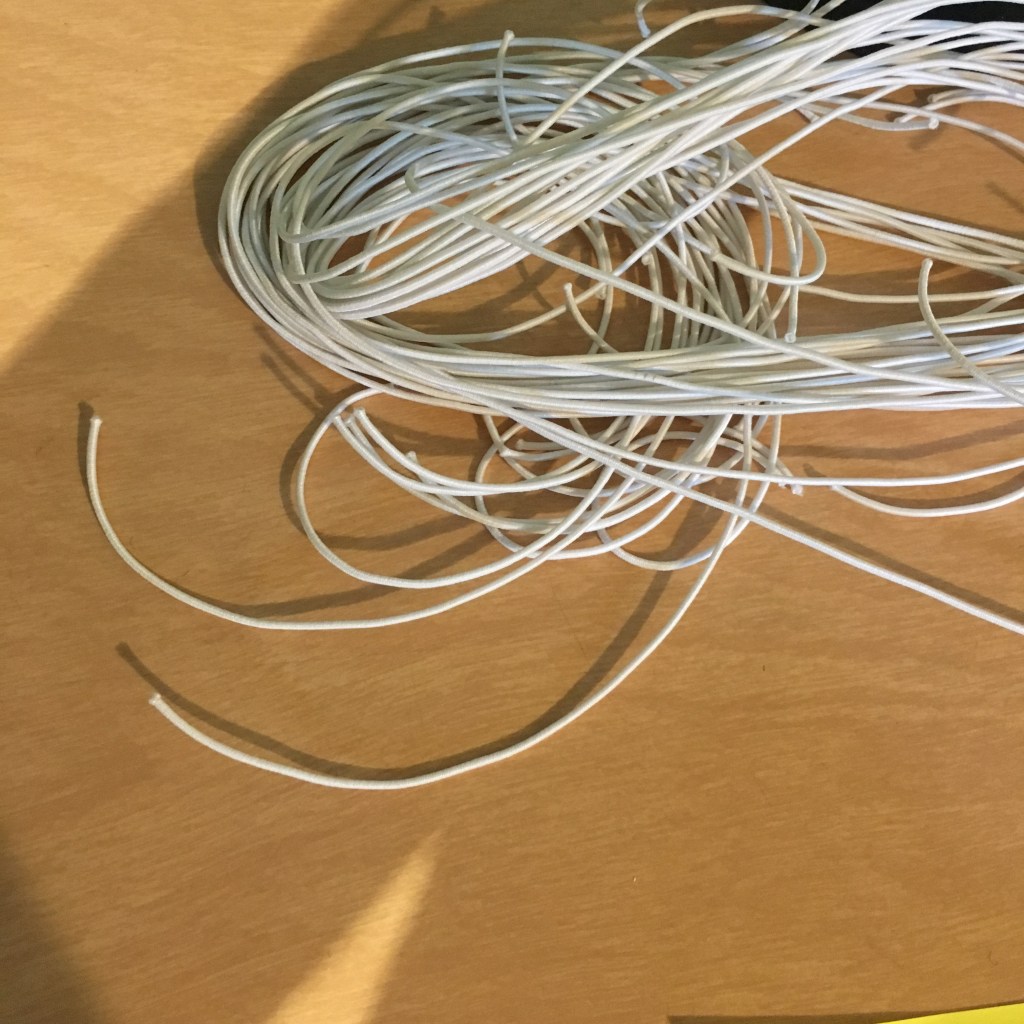
10cm- Twist tie/wire
45-100cm Elastic or shoe lace to tie it around your head
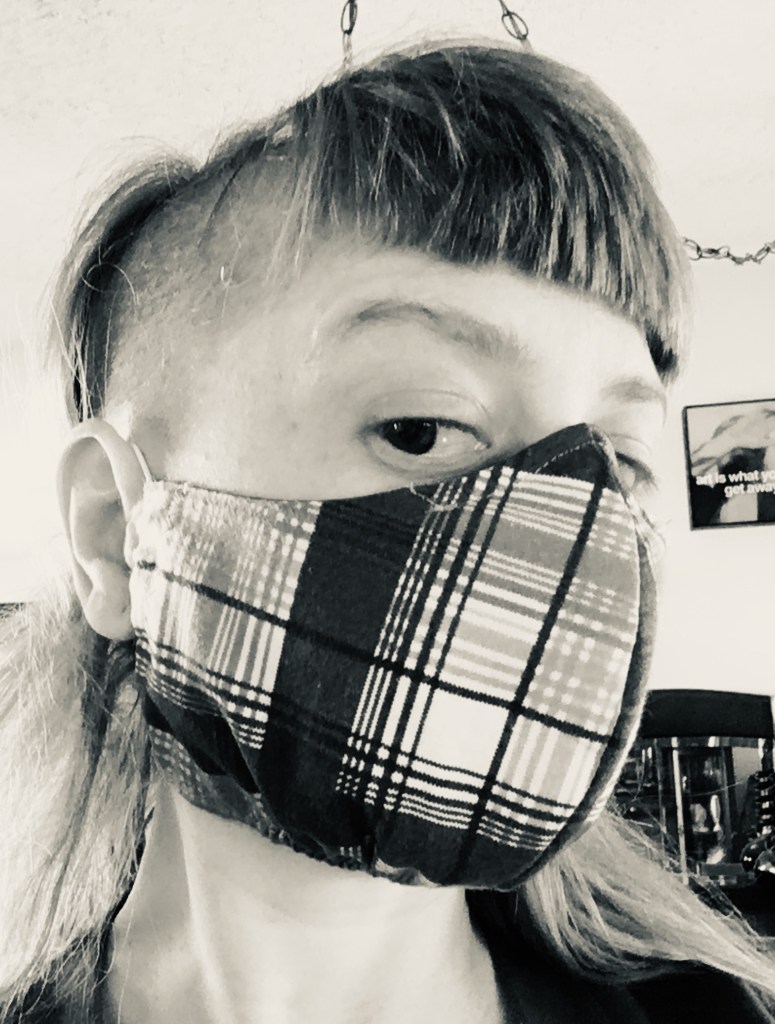
Fabric: Find something that is both breathable, as well as washable. 100% cotton is a great choice, choose something that has a tight weave structure (hint: try blowing air through the fabric, your fabric should allow some air to flow through. Try blowing out a candle).
Linen is a great option because of it’s natural antibacterial characteristics. You can also consider using old sheets, or scraps of fabric from garments that are about to be donated. Try to avoid knits, depending on the knit structure when a knit is stretched it might allow too much air through the mask. Test your fabric by breathing through it, as well as touching it to your face to ensure it will not react to your skin.
Chin Elastic- also used for lingerieEar Elastic- Alternative material- shoe lace- hair elastics
STEP 2:
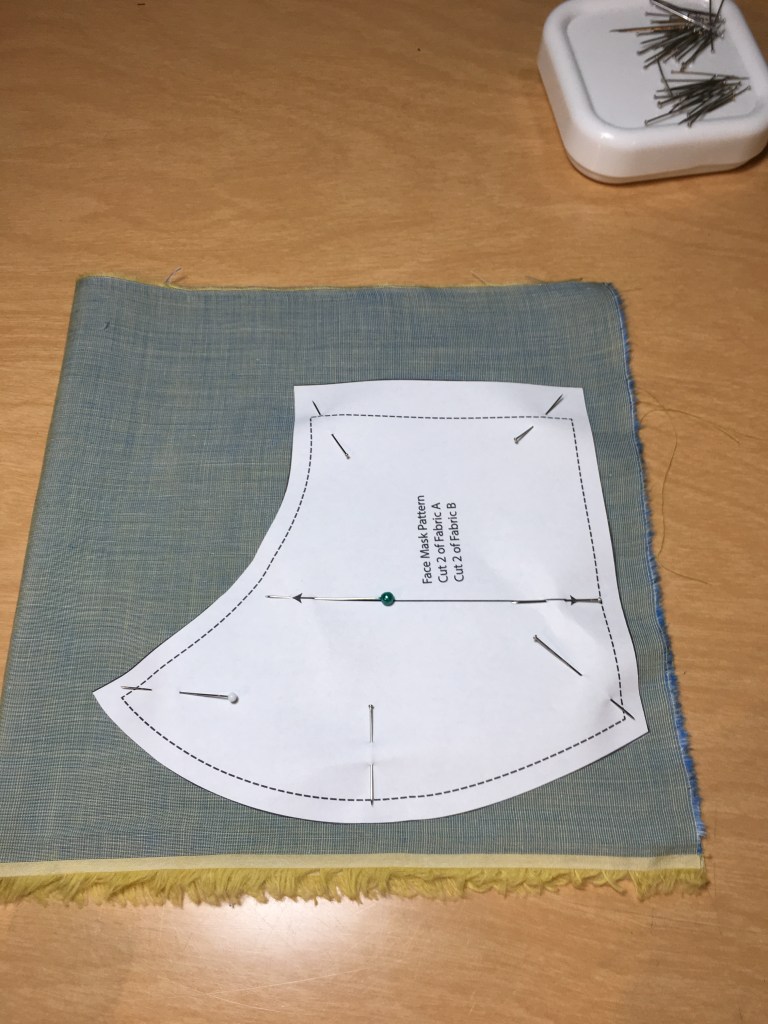
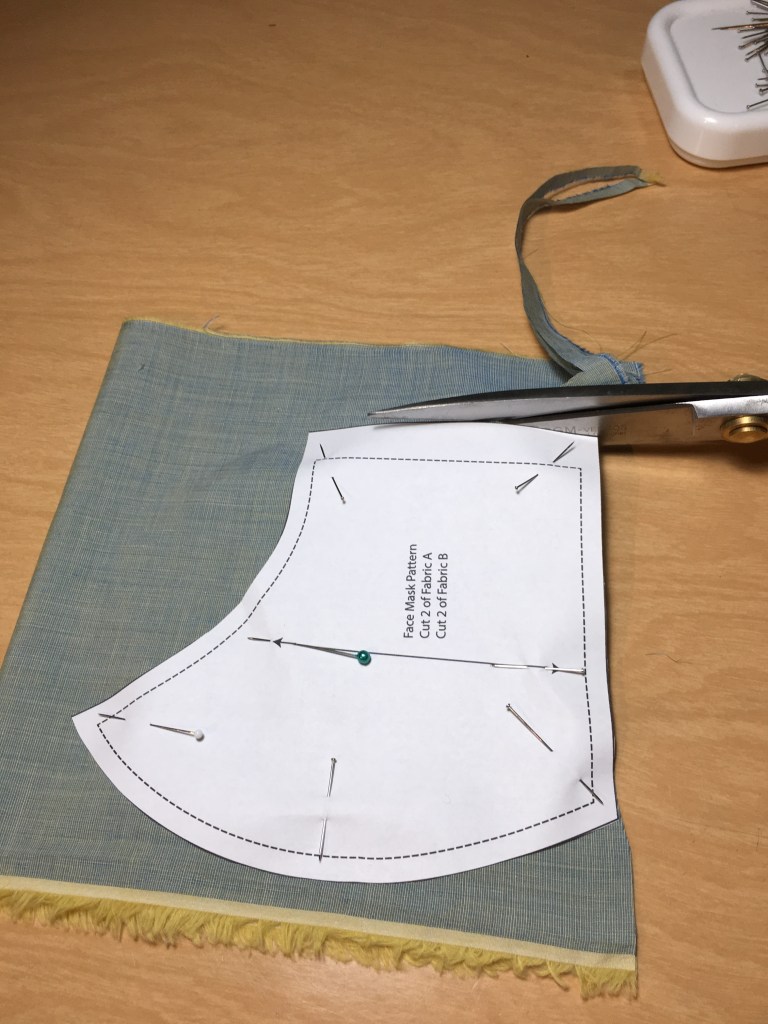
Once you have gathered all of your materials, print out your pattern and cut out the pattern with your paper scissors.
Step 3: Cut out your Mask Material
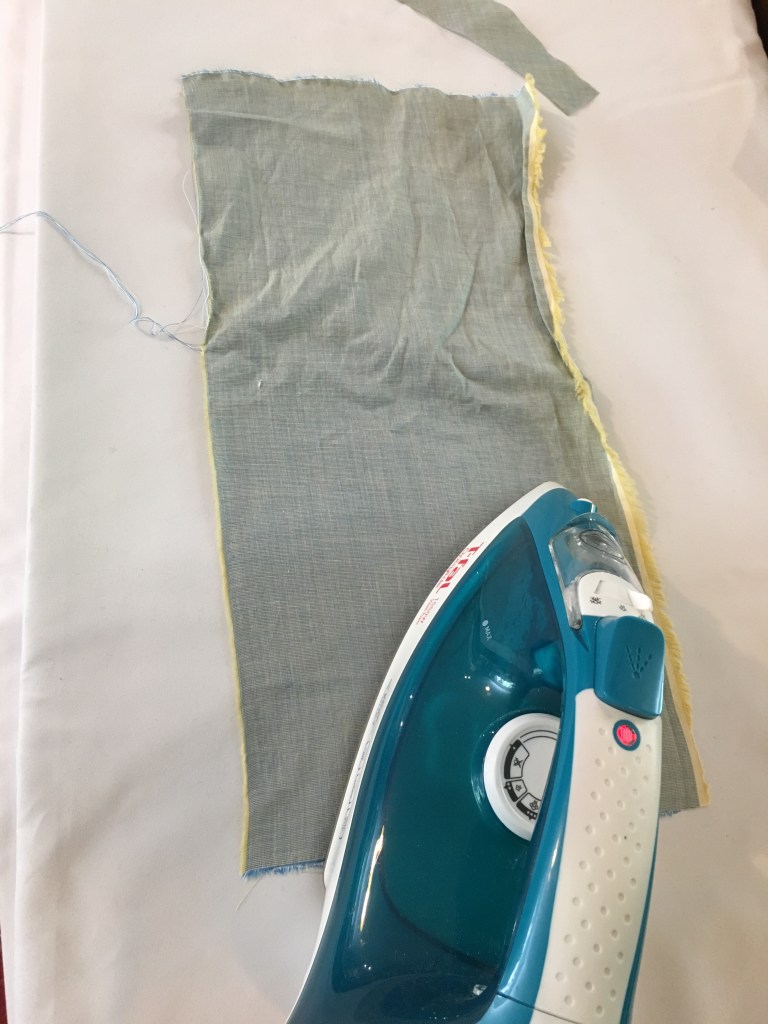
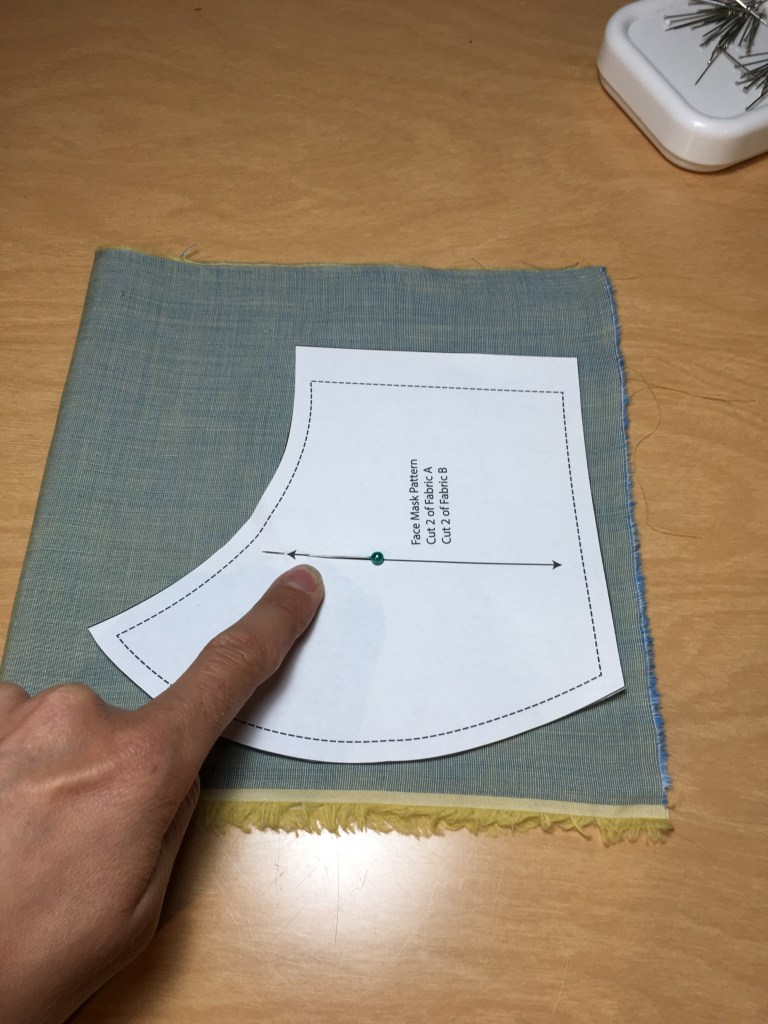
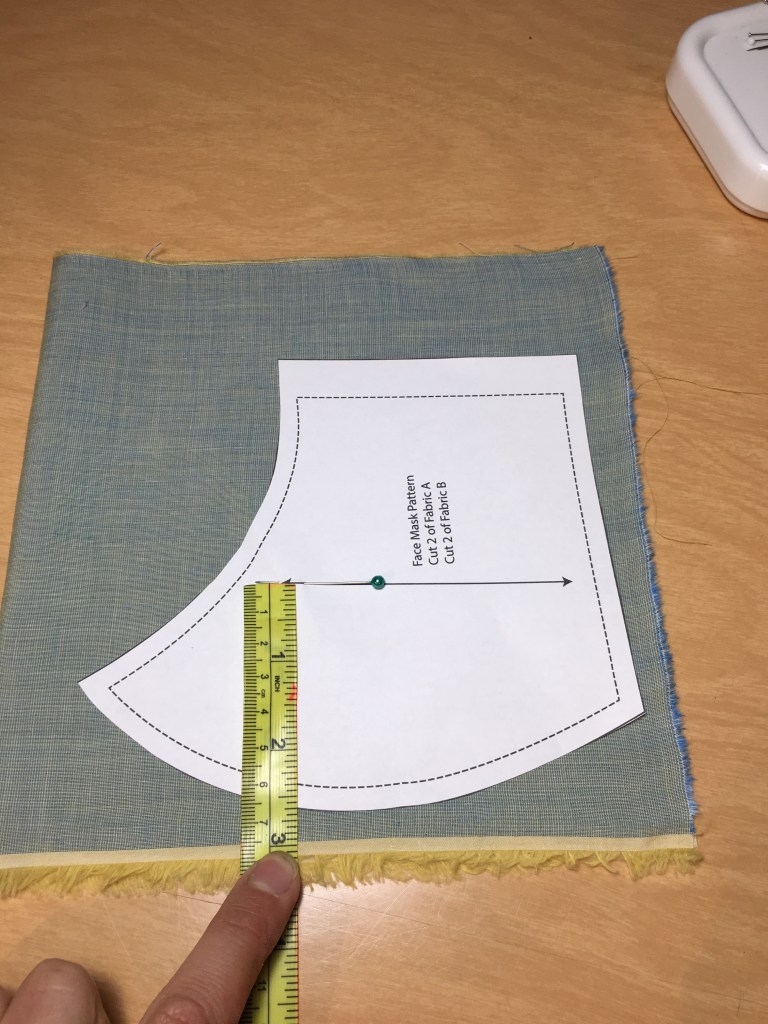
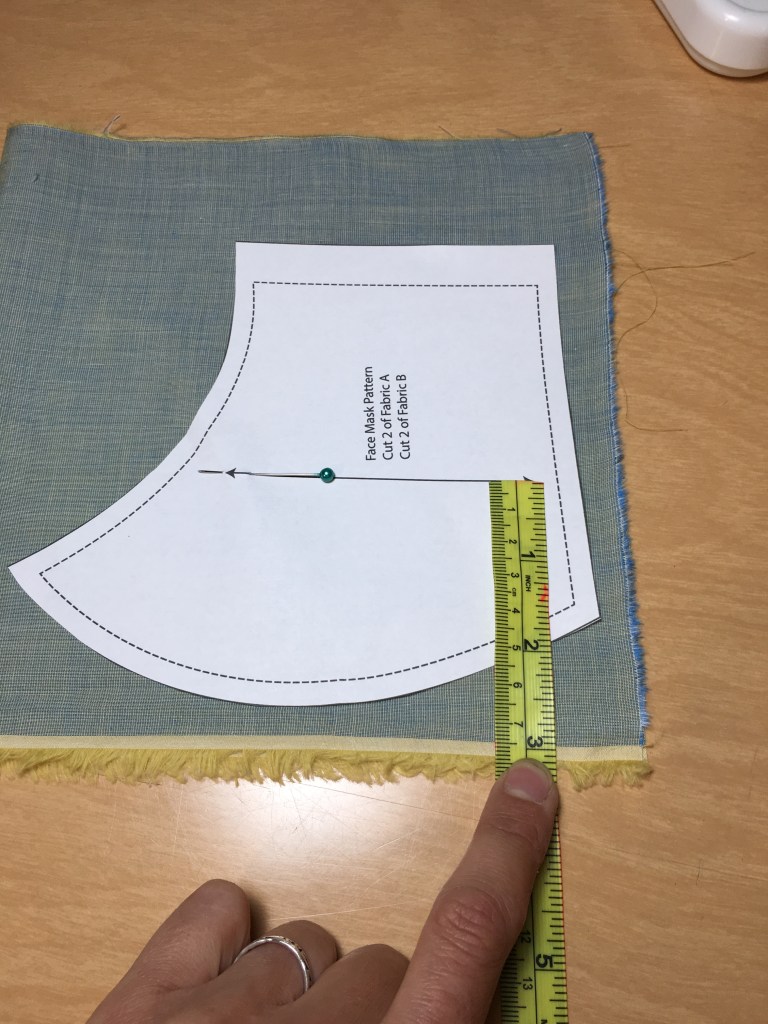
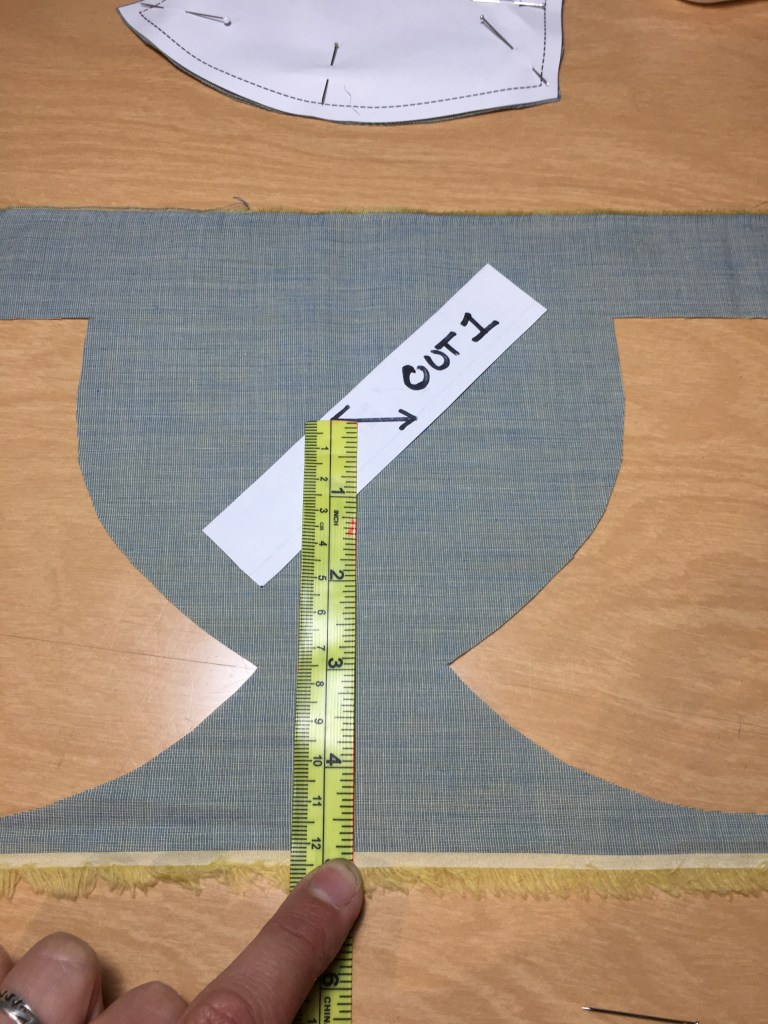
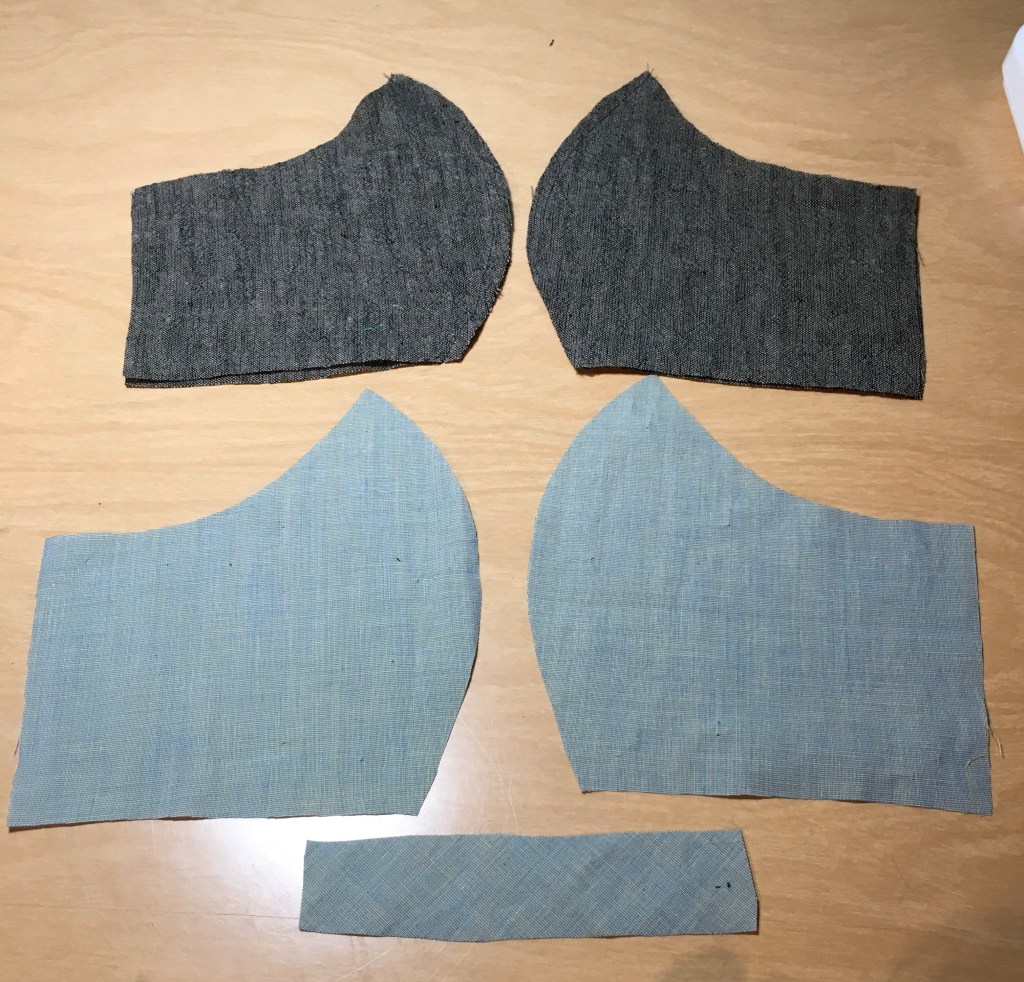
Pre-press your fabric so it is flatLay out your pattern piece parallel to a grain line. Do this by putting one pin along one end of the grain lineMeasure this distance between the pin and the grain lineUse the same distance, and align the other side of the grain line. You might need to rotate the piece slightlyPin all the corners down on the pattern *ensure it does not move when cutting* Cut out the mask fabric * you will need 4 of these pieces in totalCut 1 Wire Channel. This pattern is on the bias (45 degree angle)
This is what you will need cut before you start sewing.
Step 4: Sewing
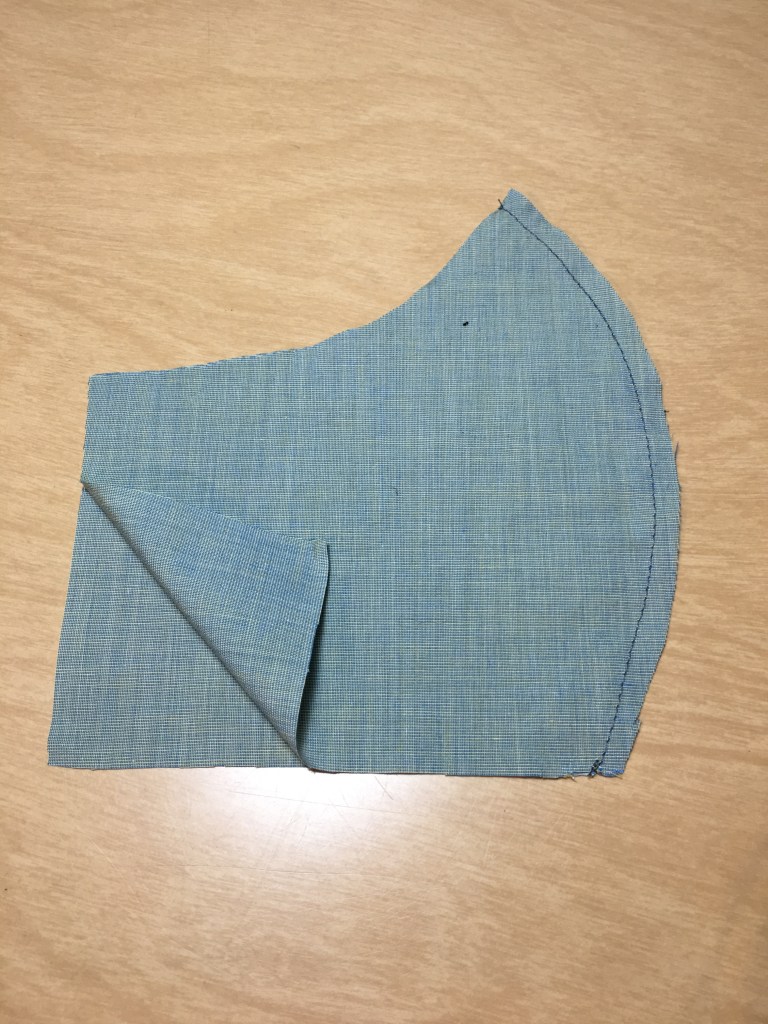
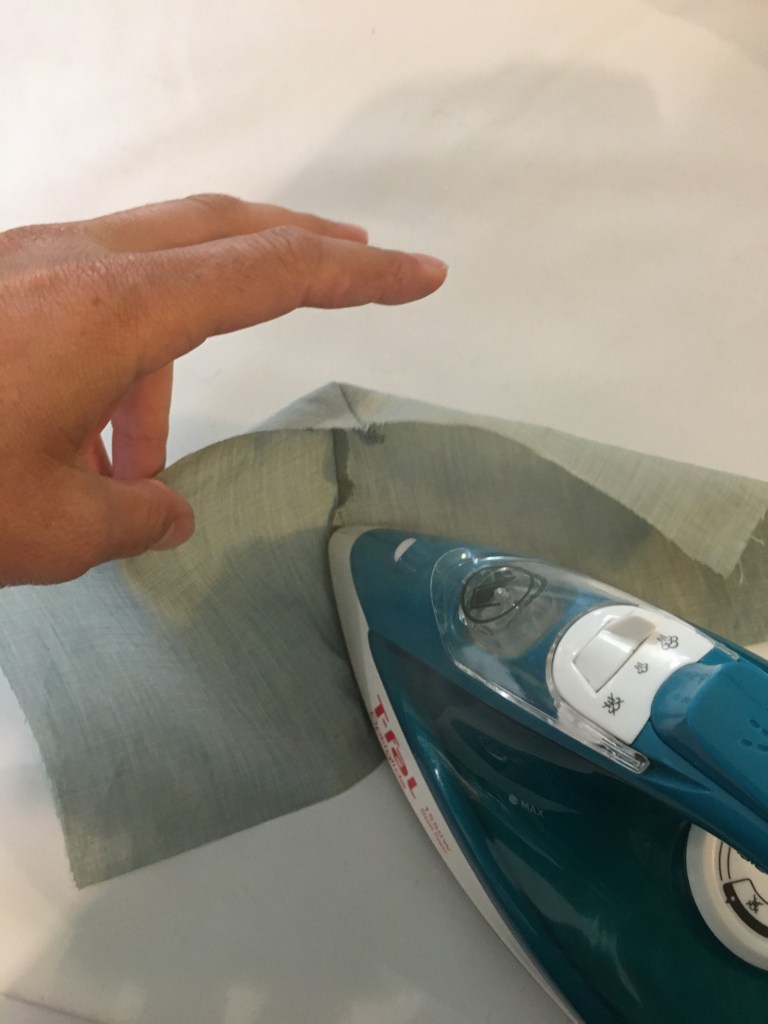
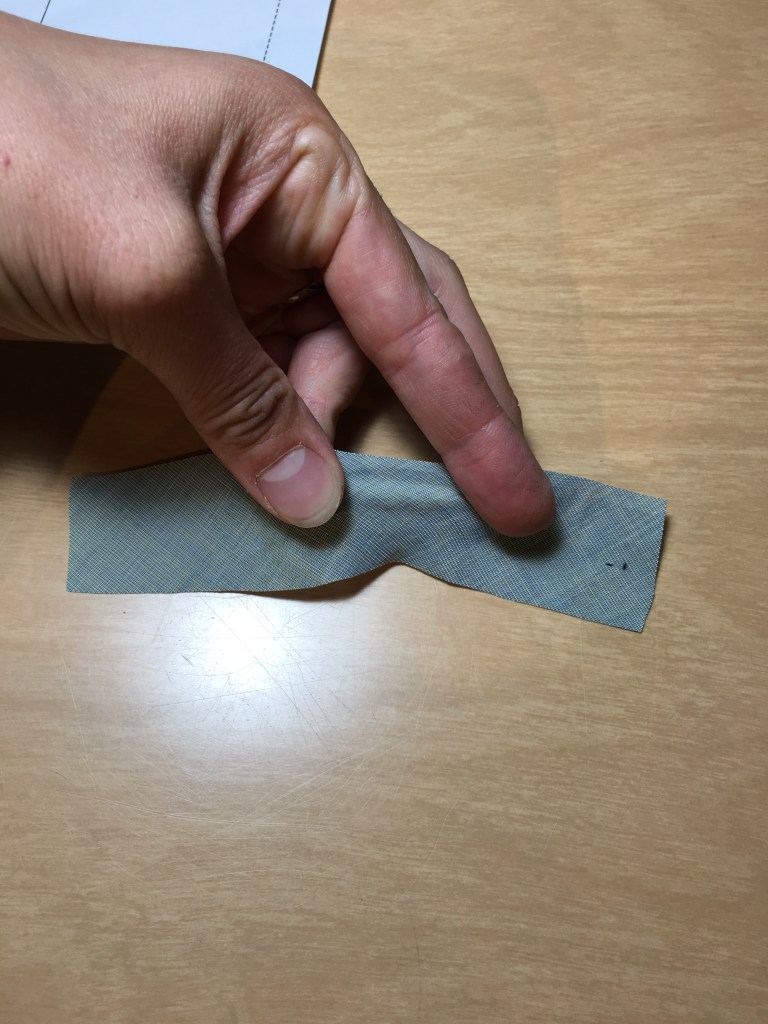
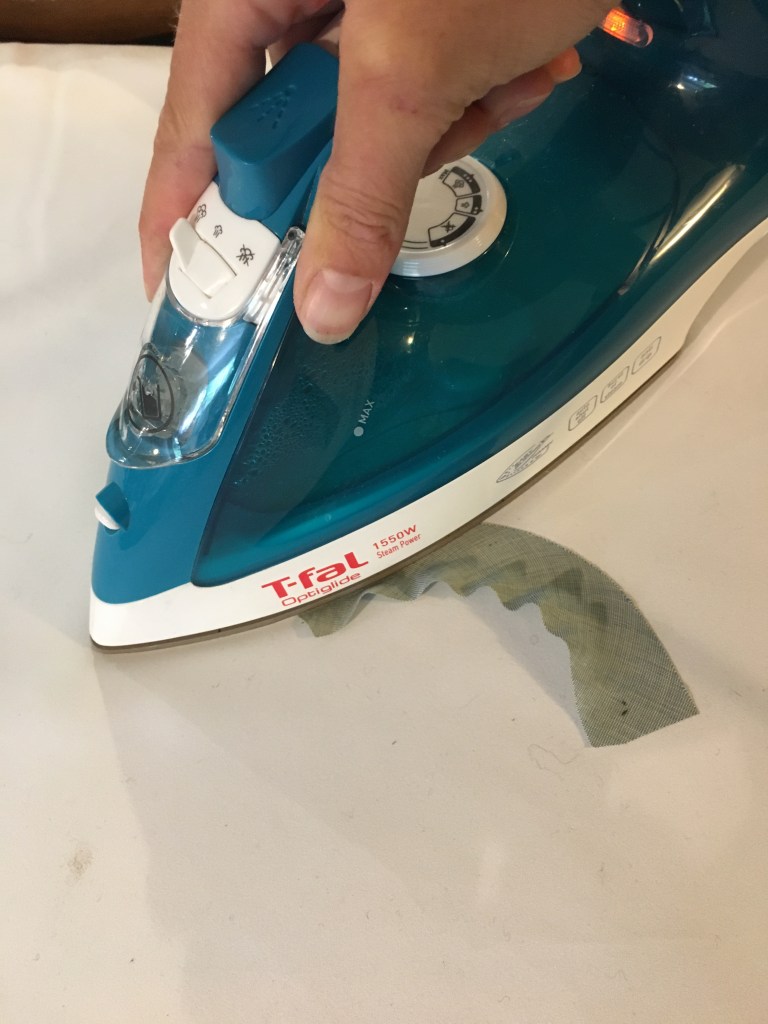
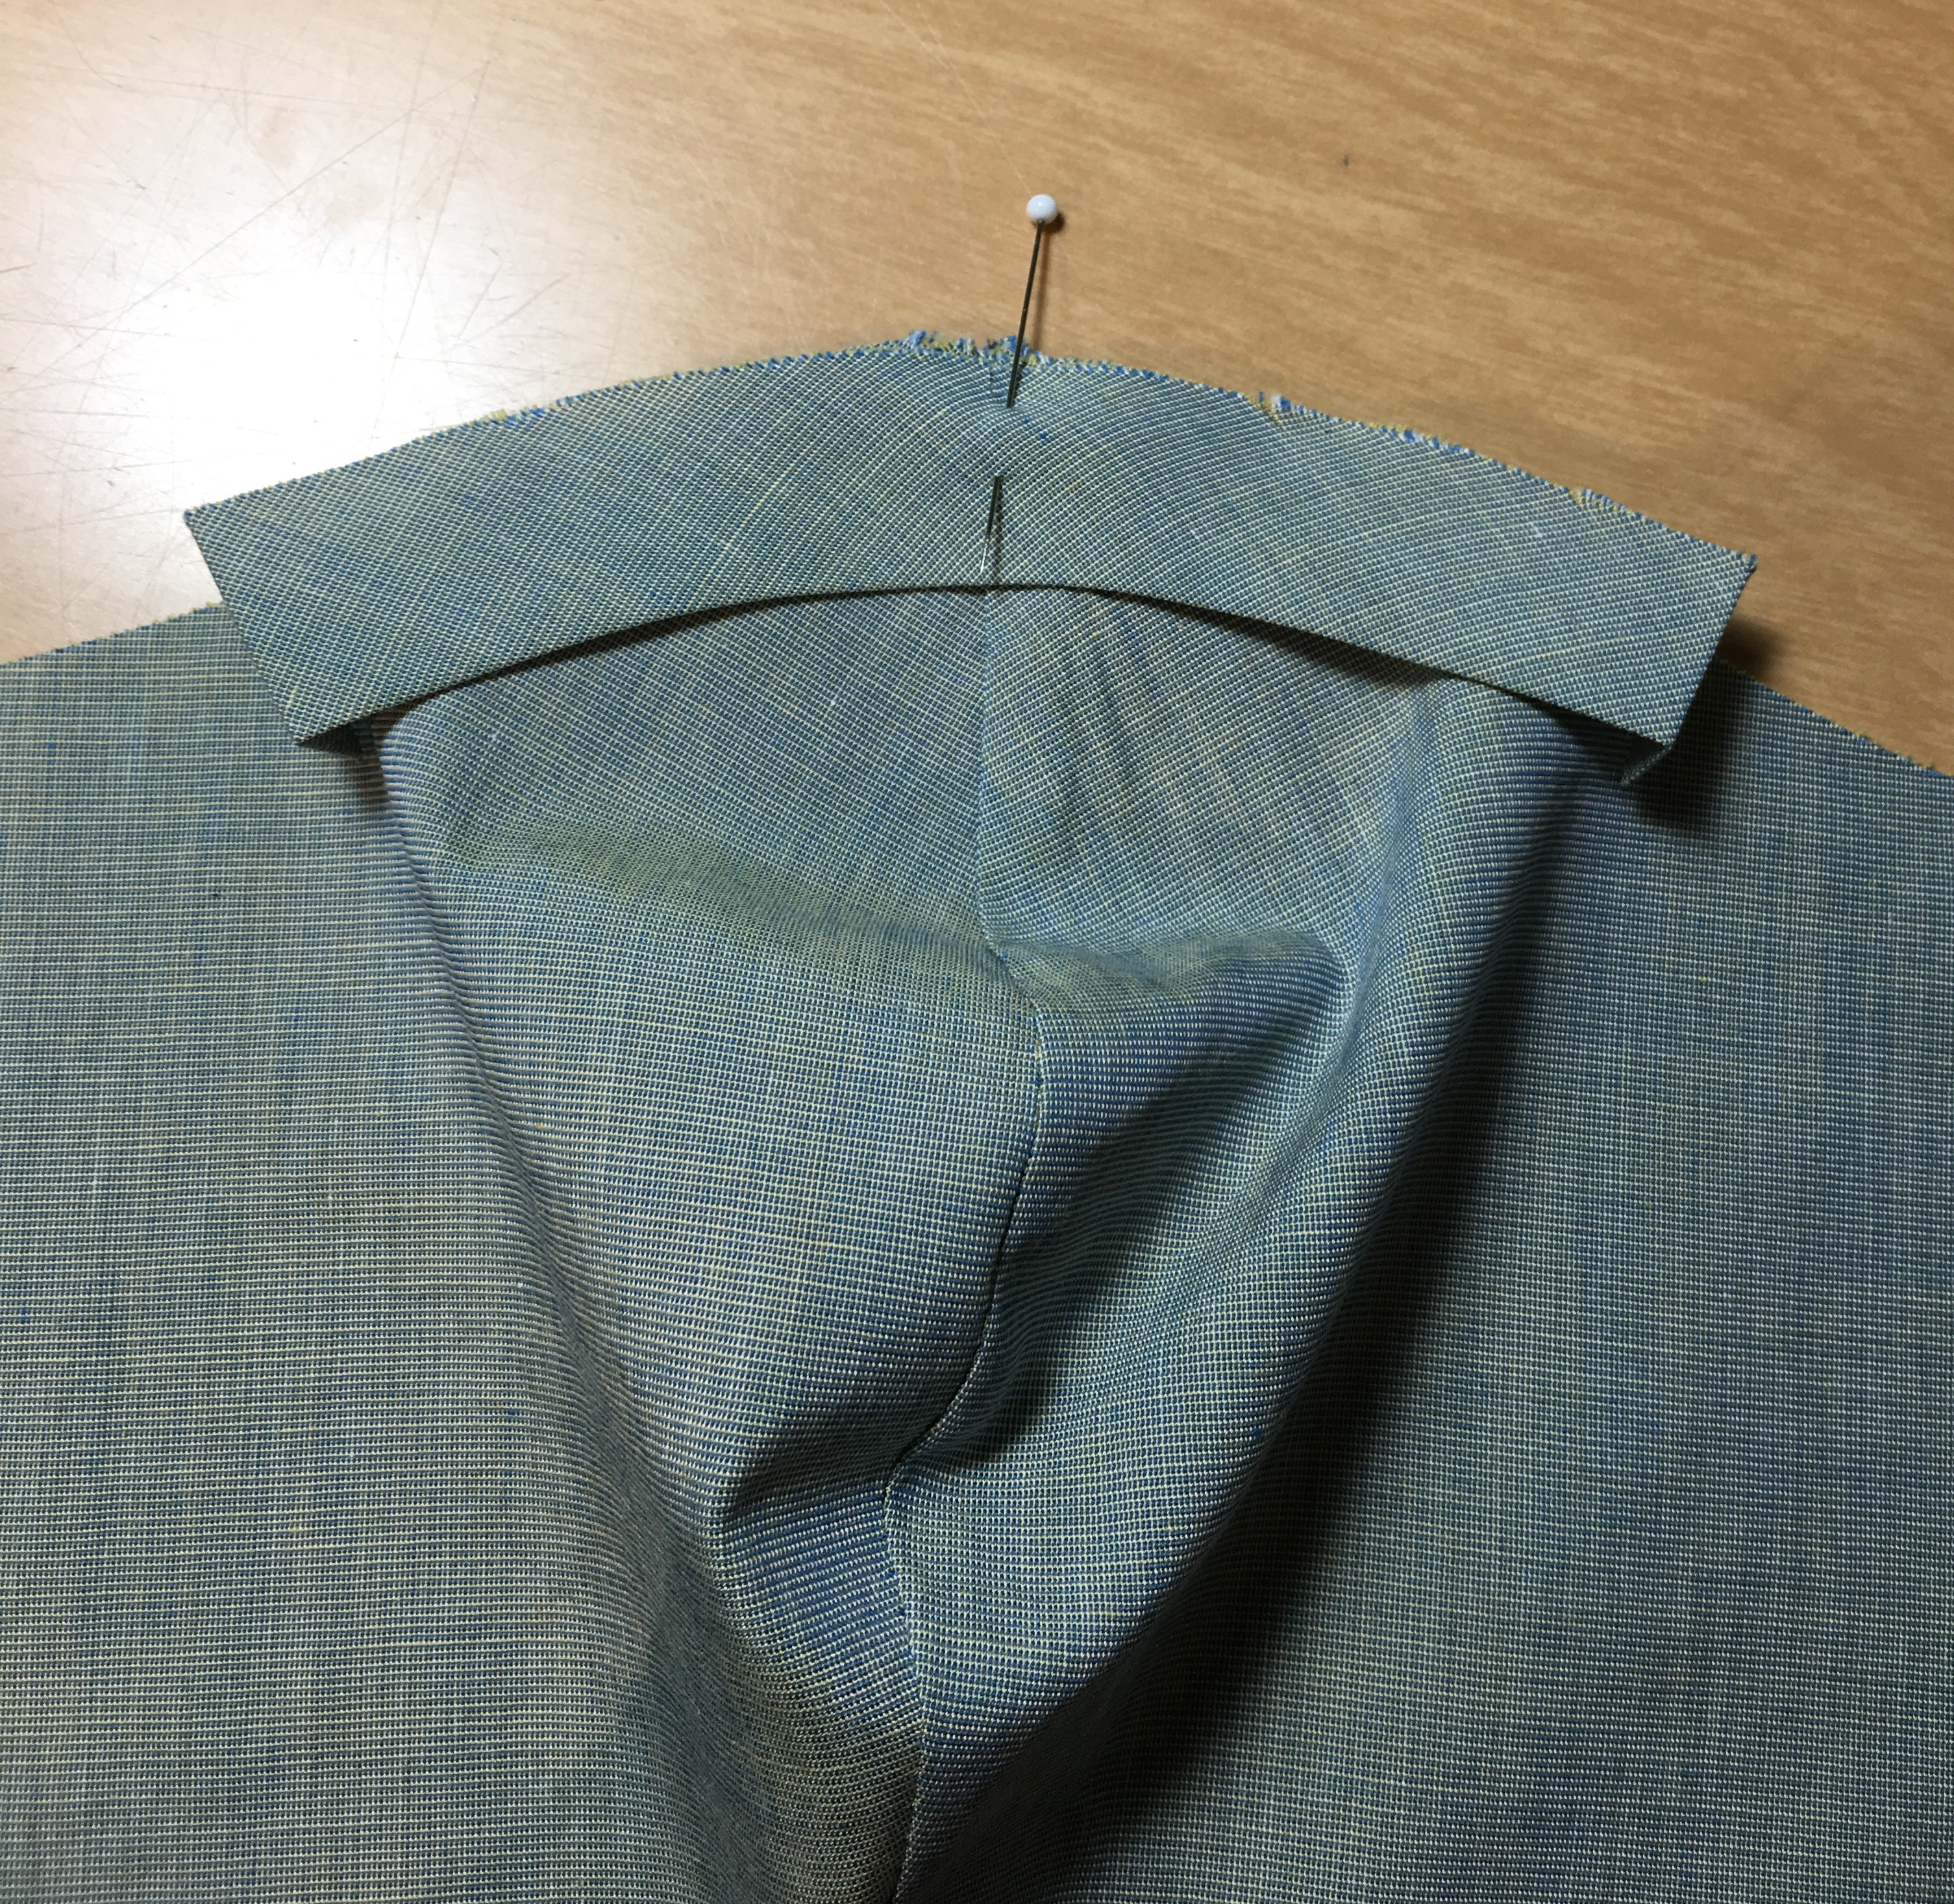
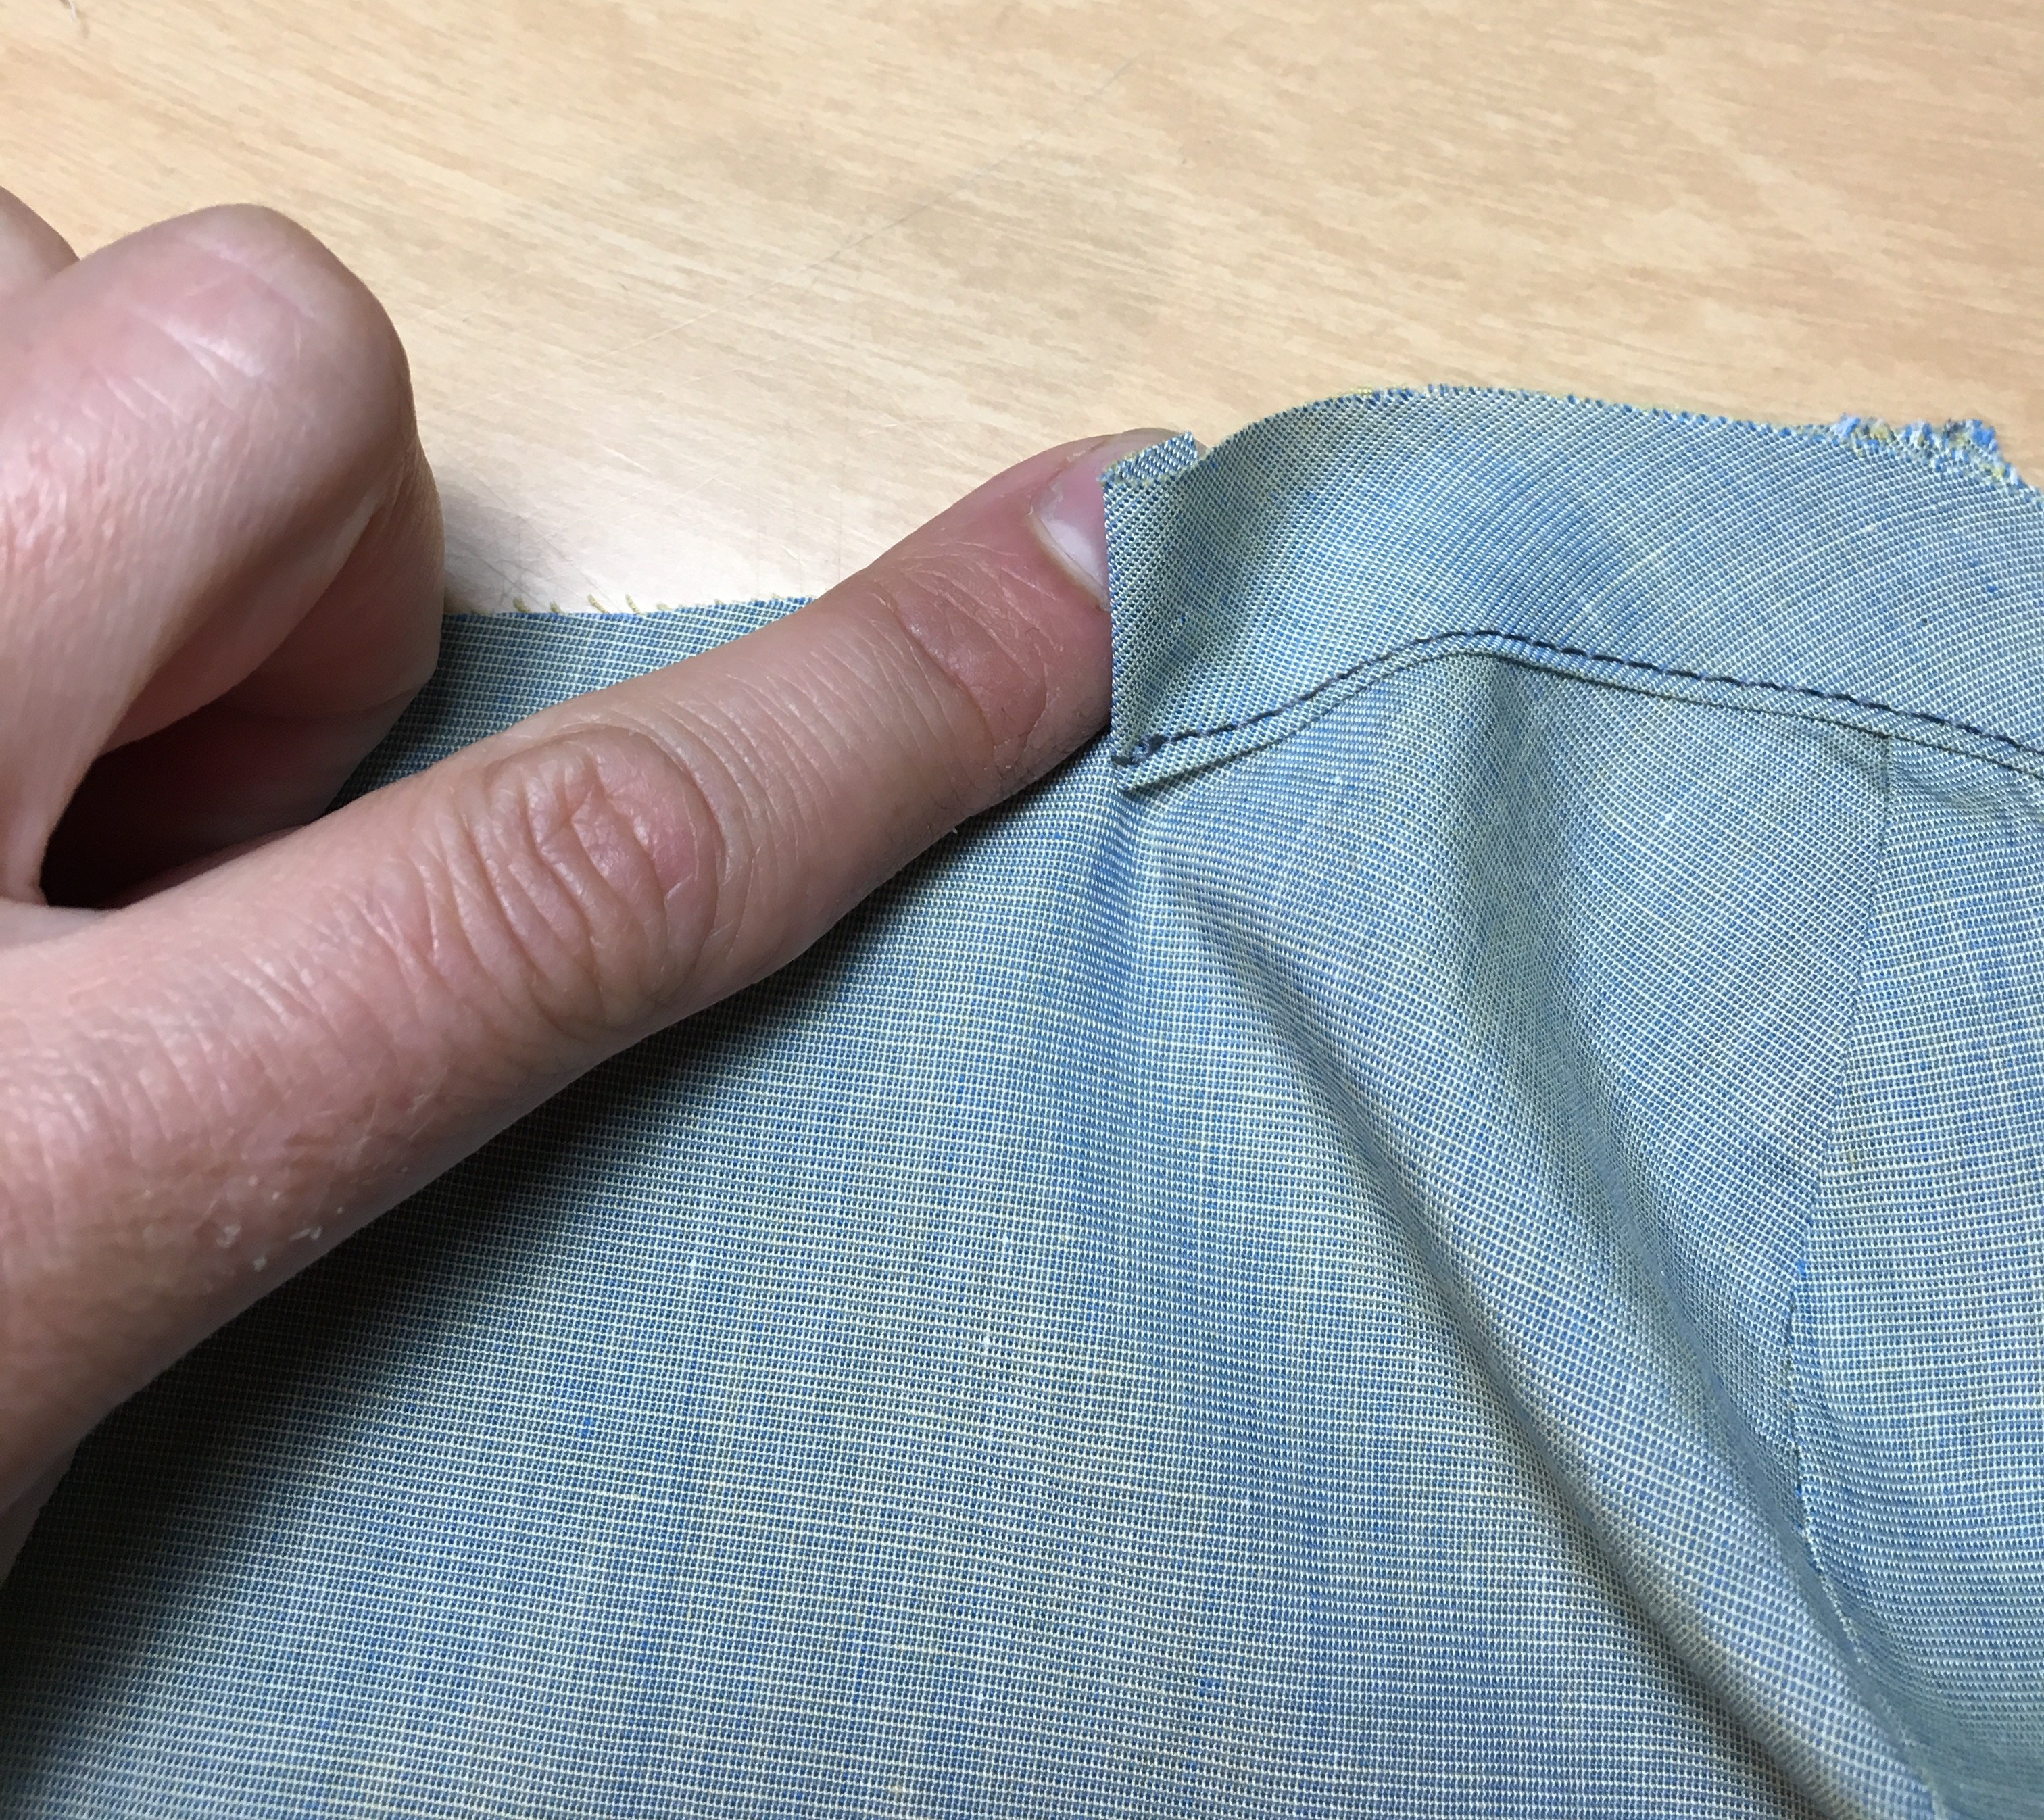
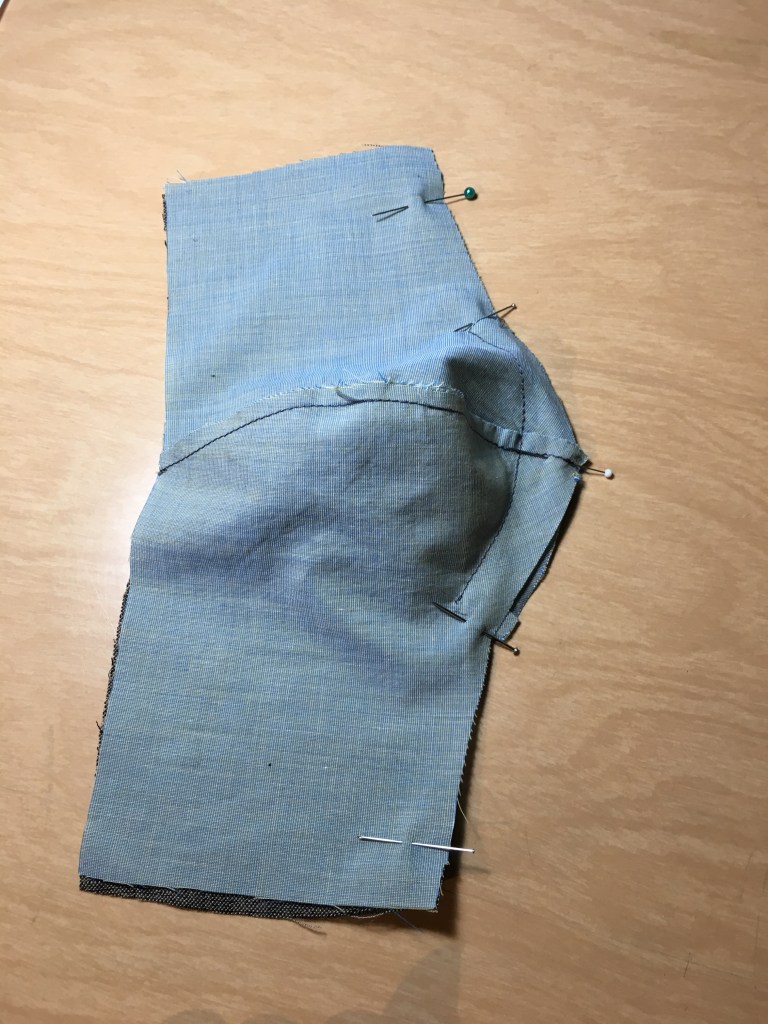
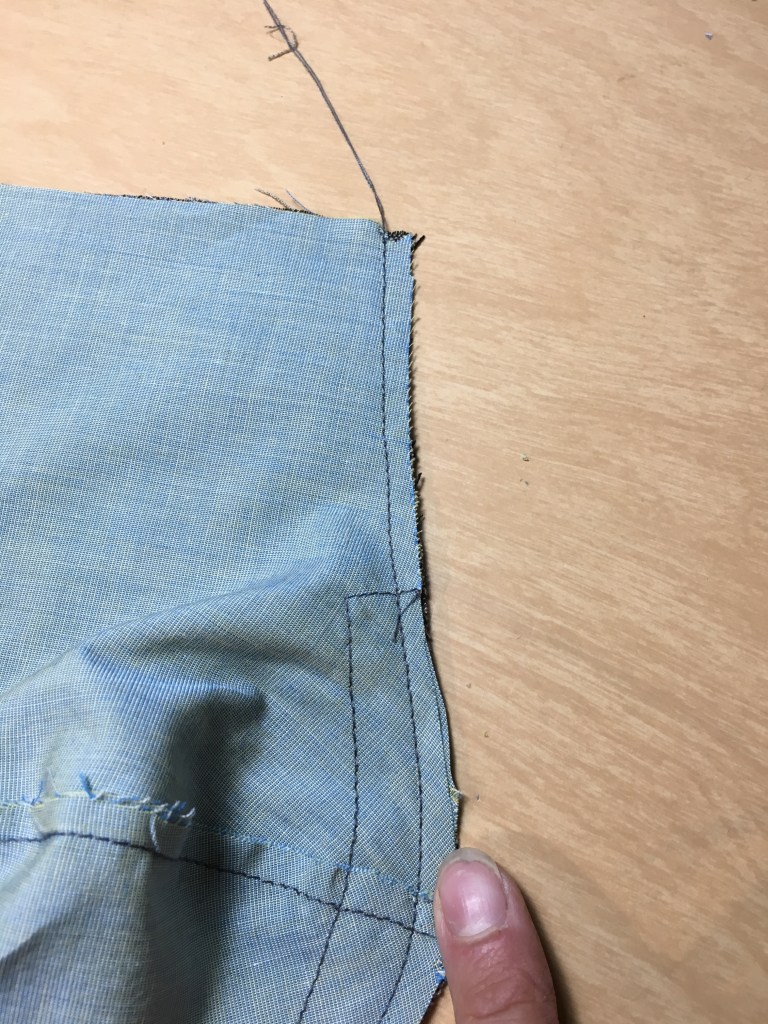
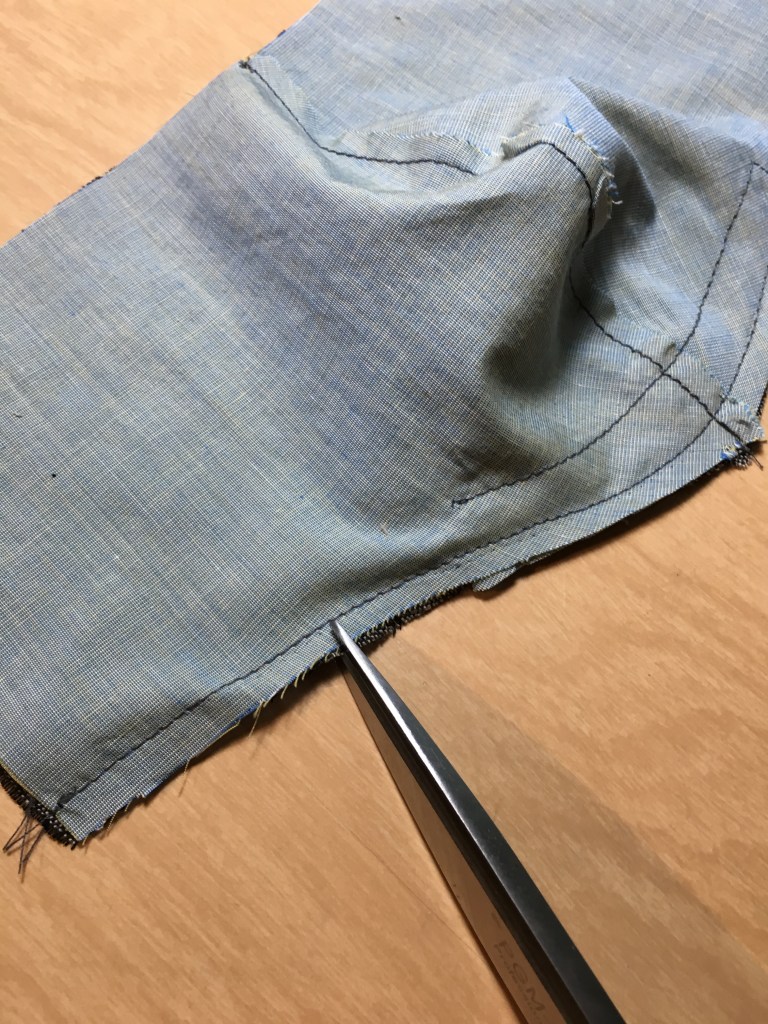
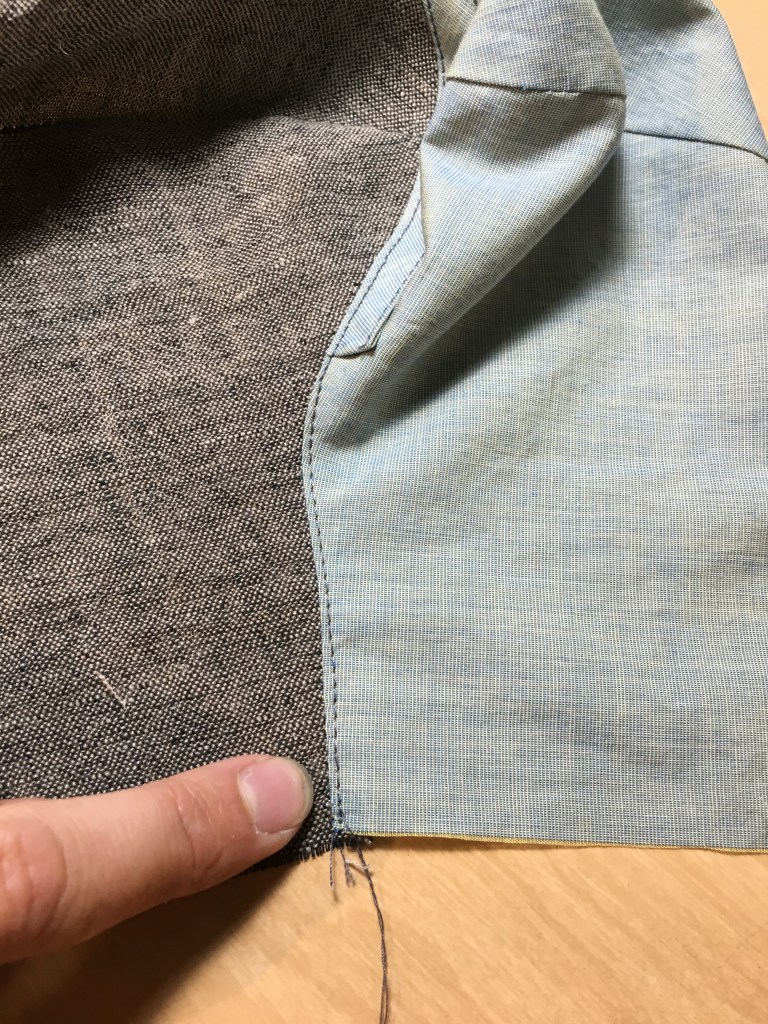
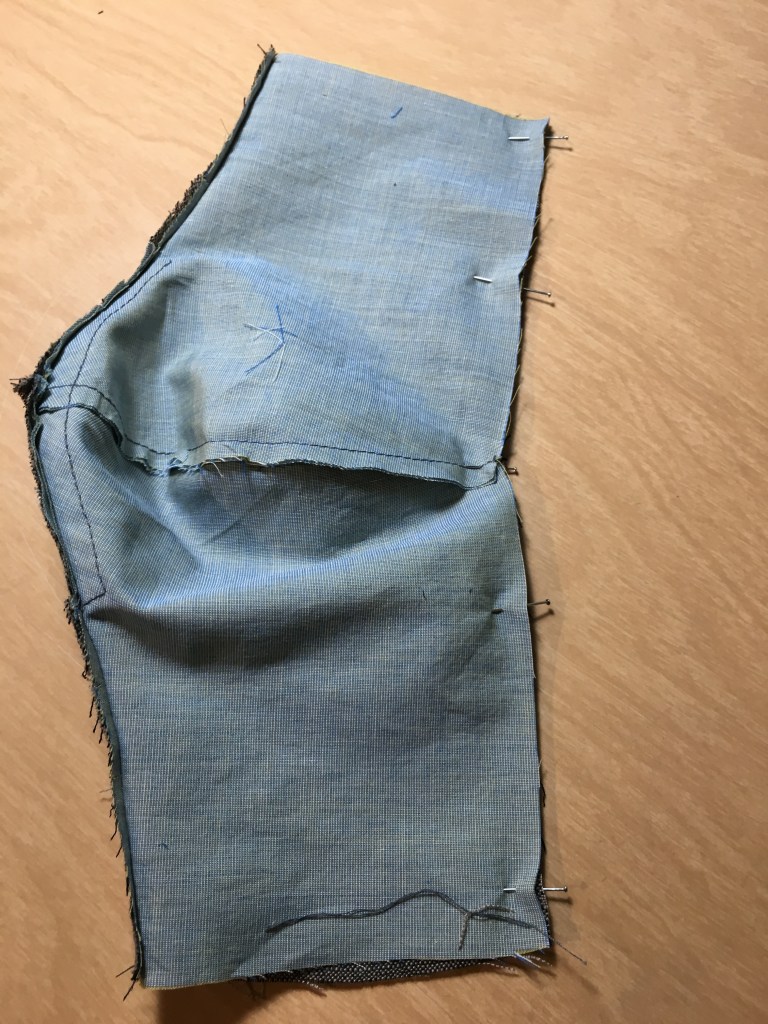
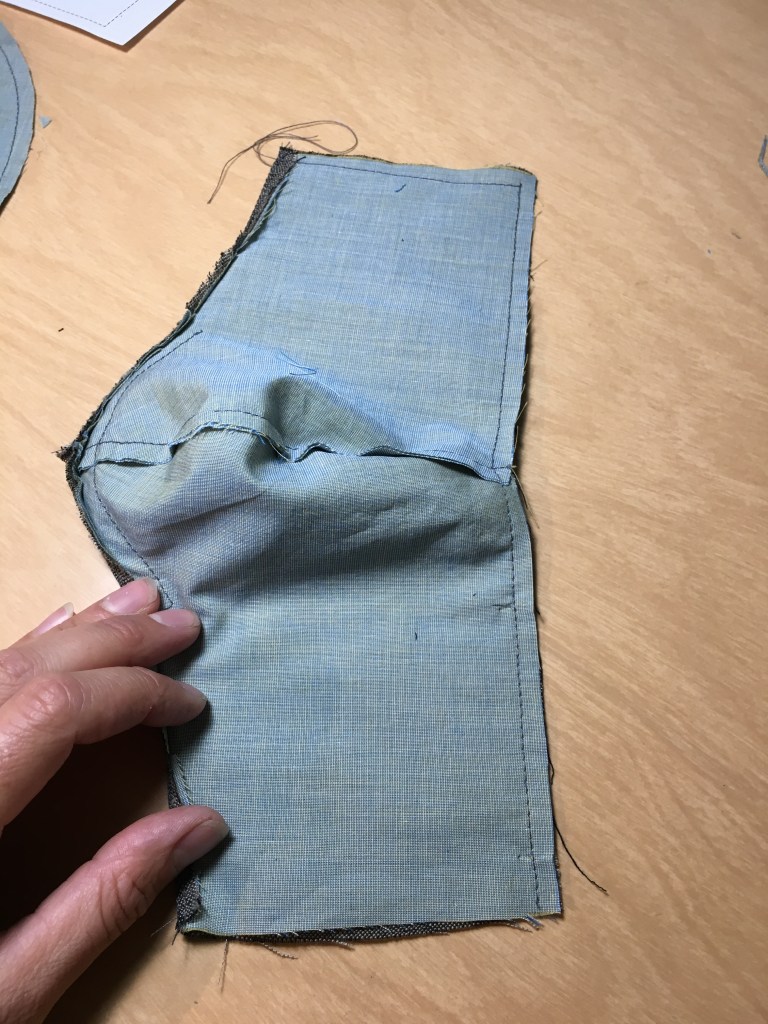
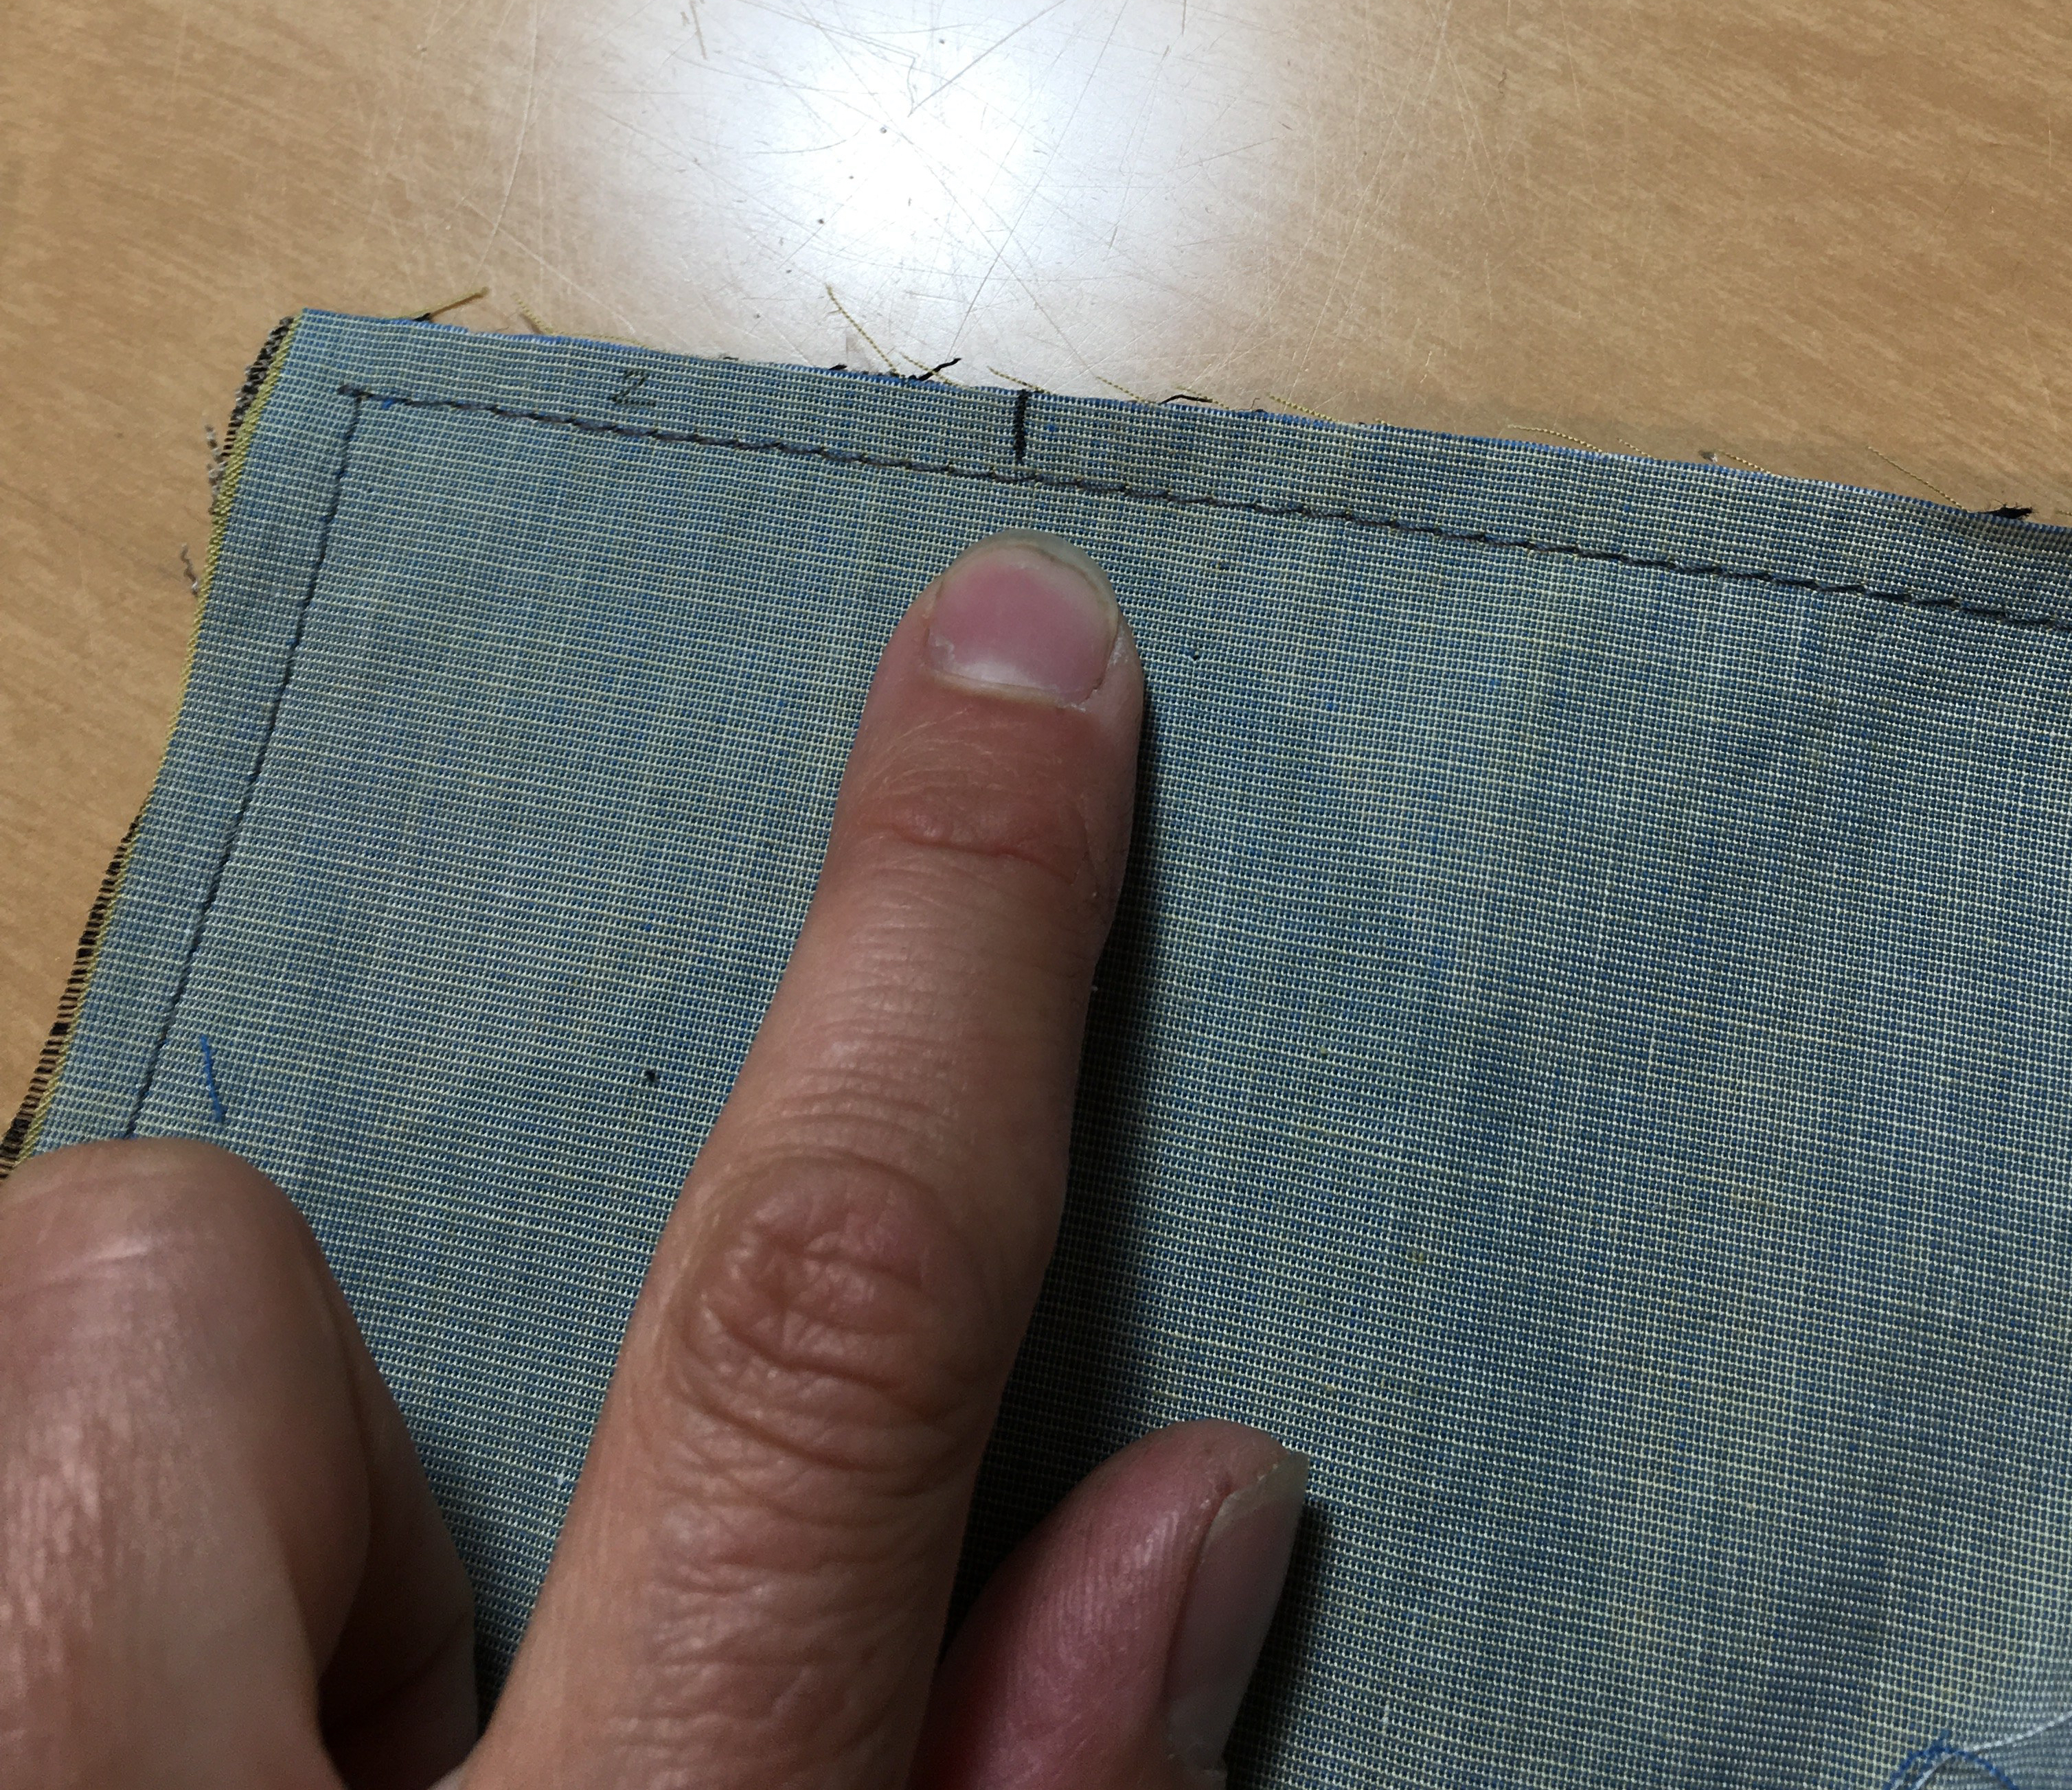
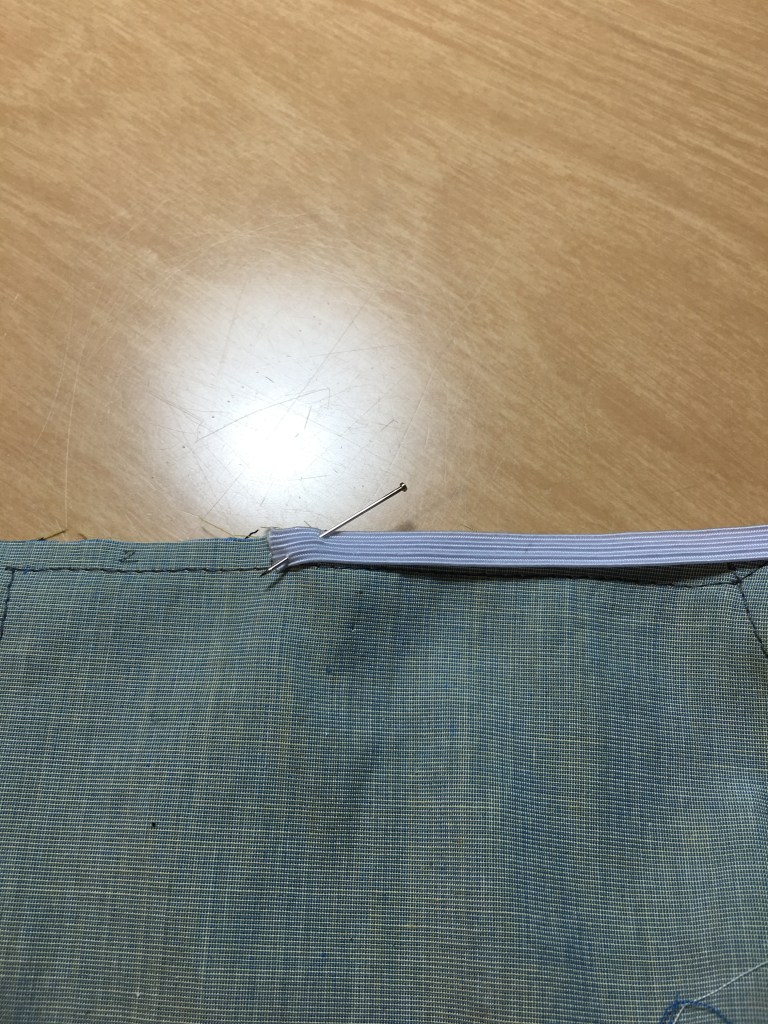
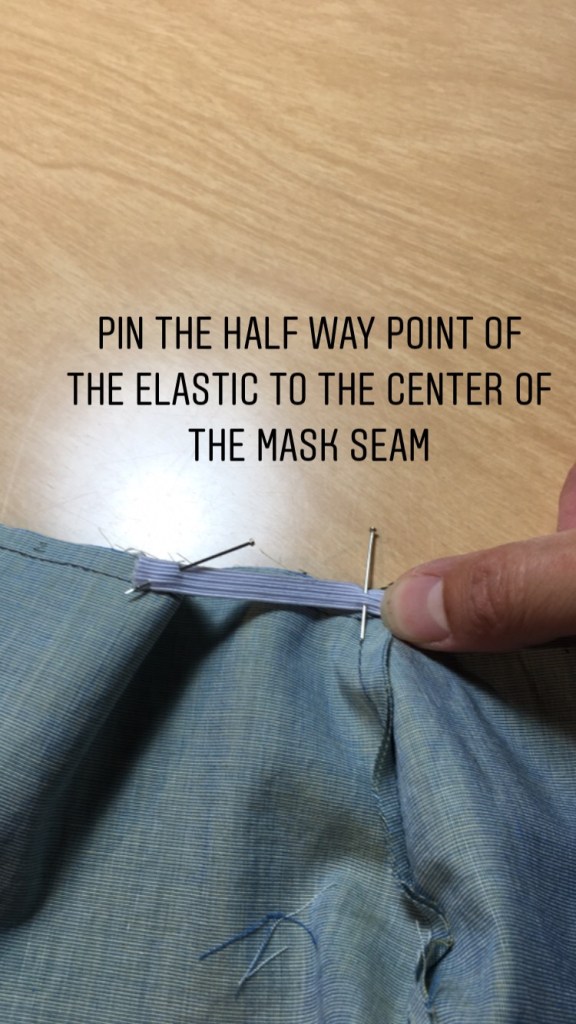
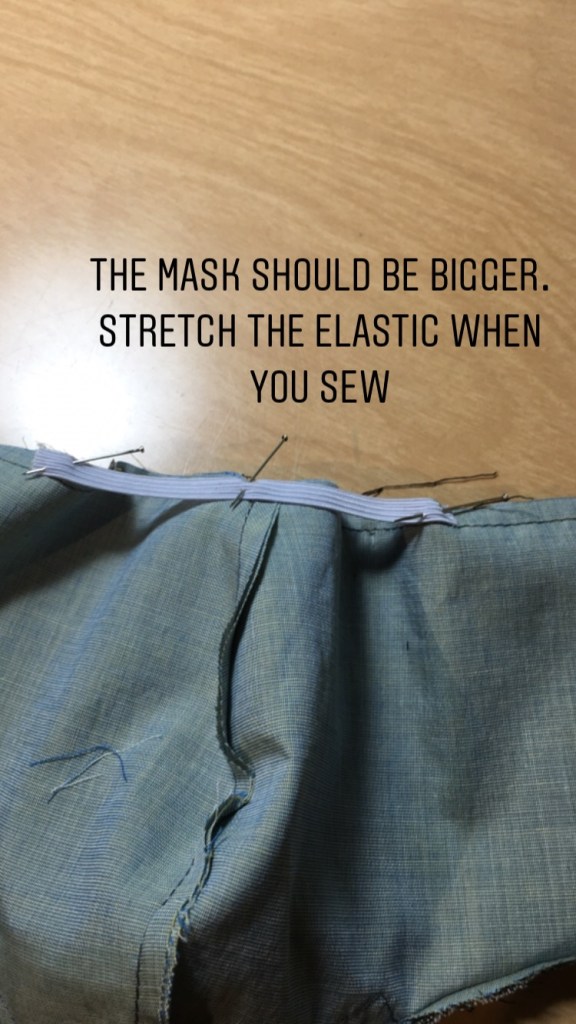
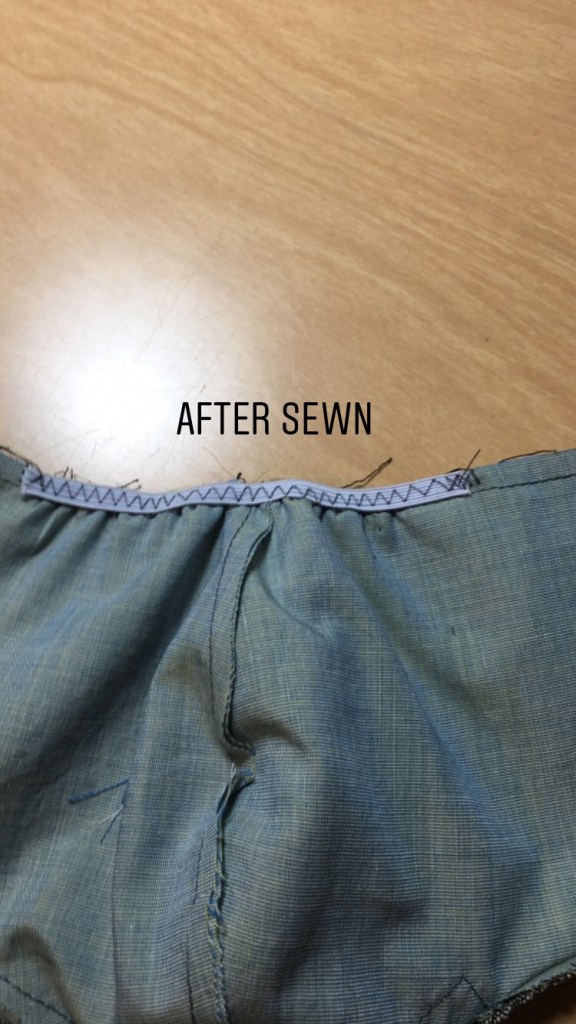
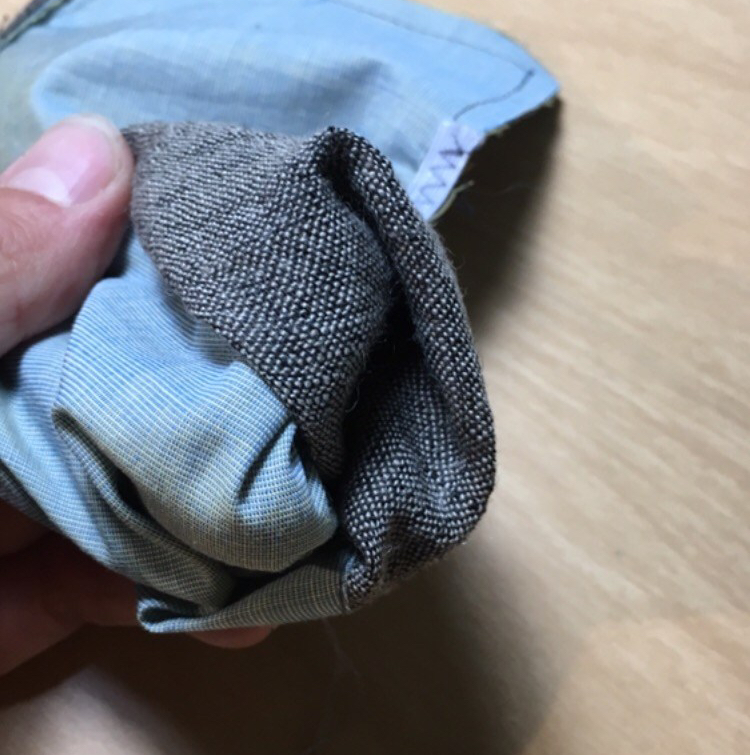
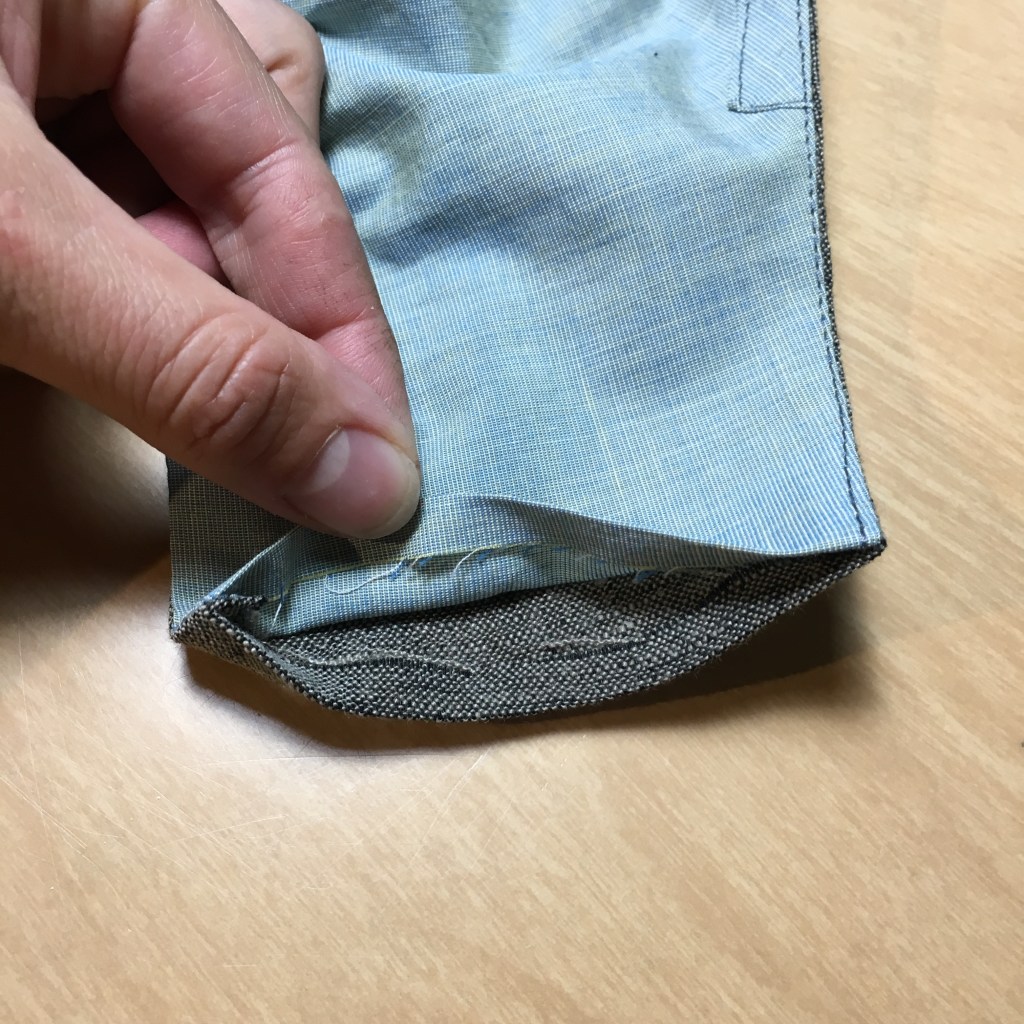
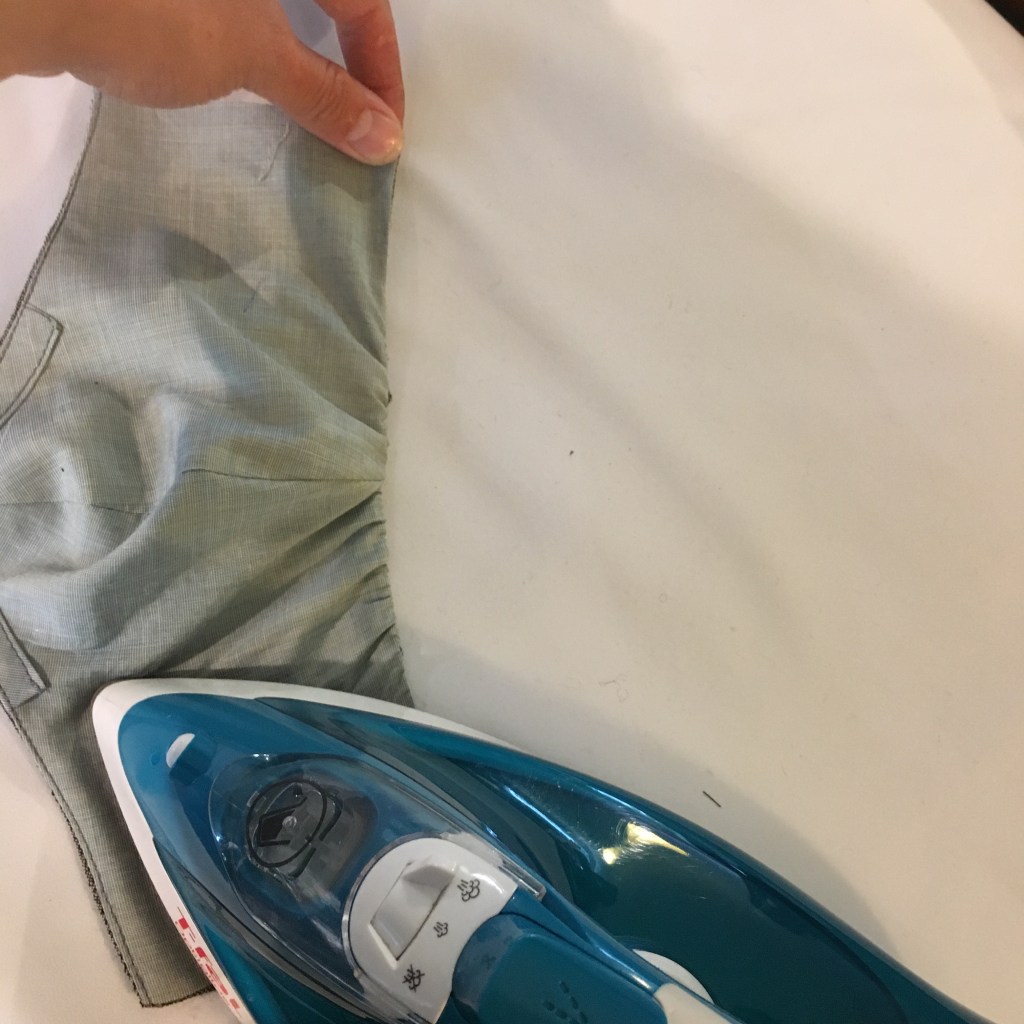
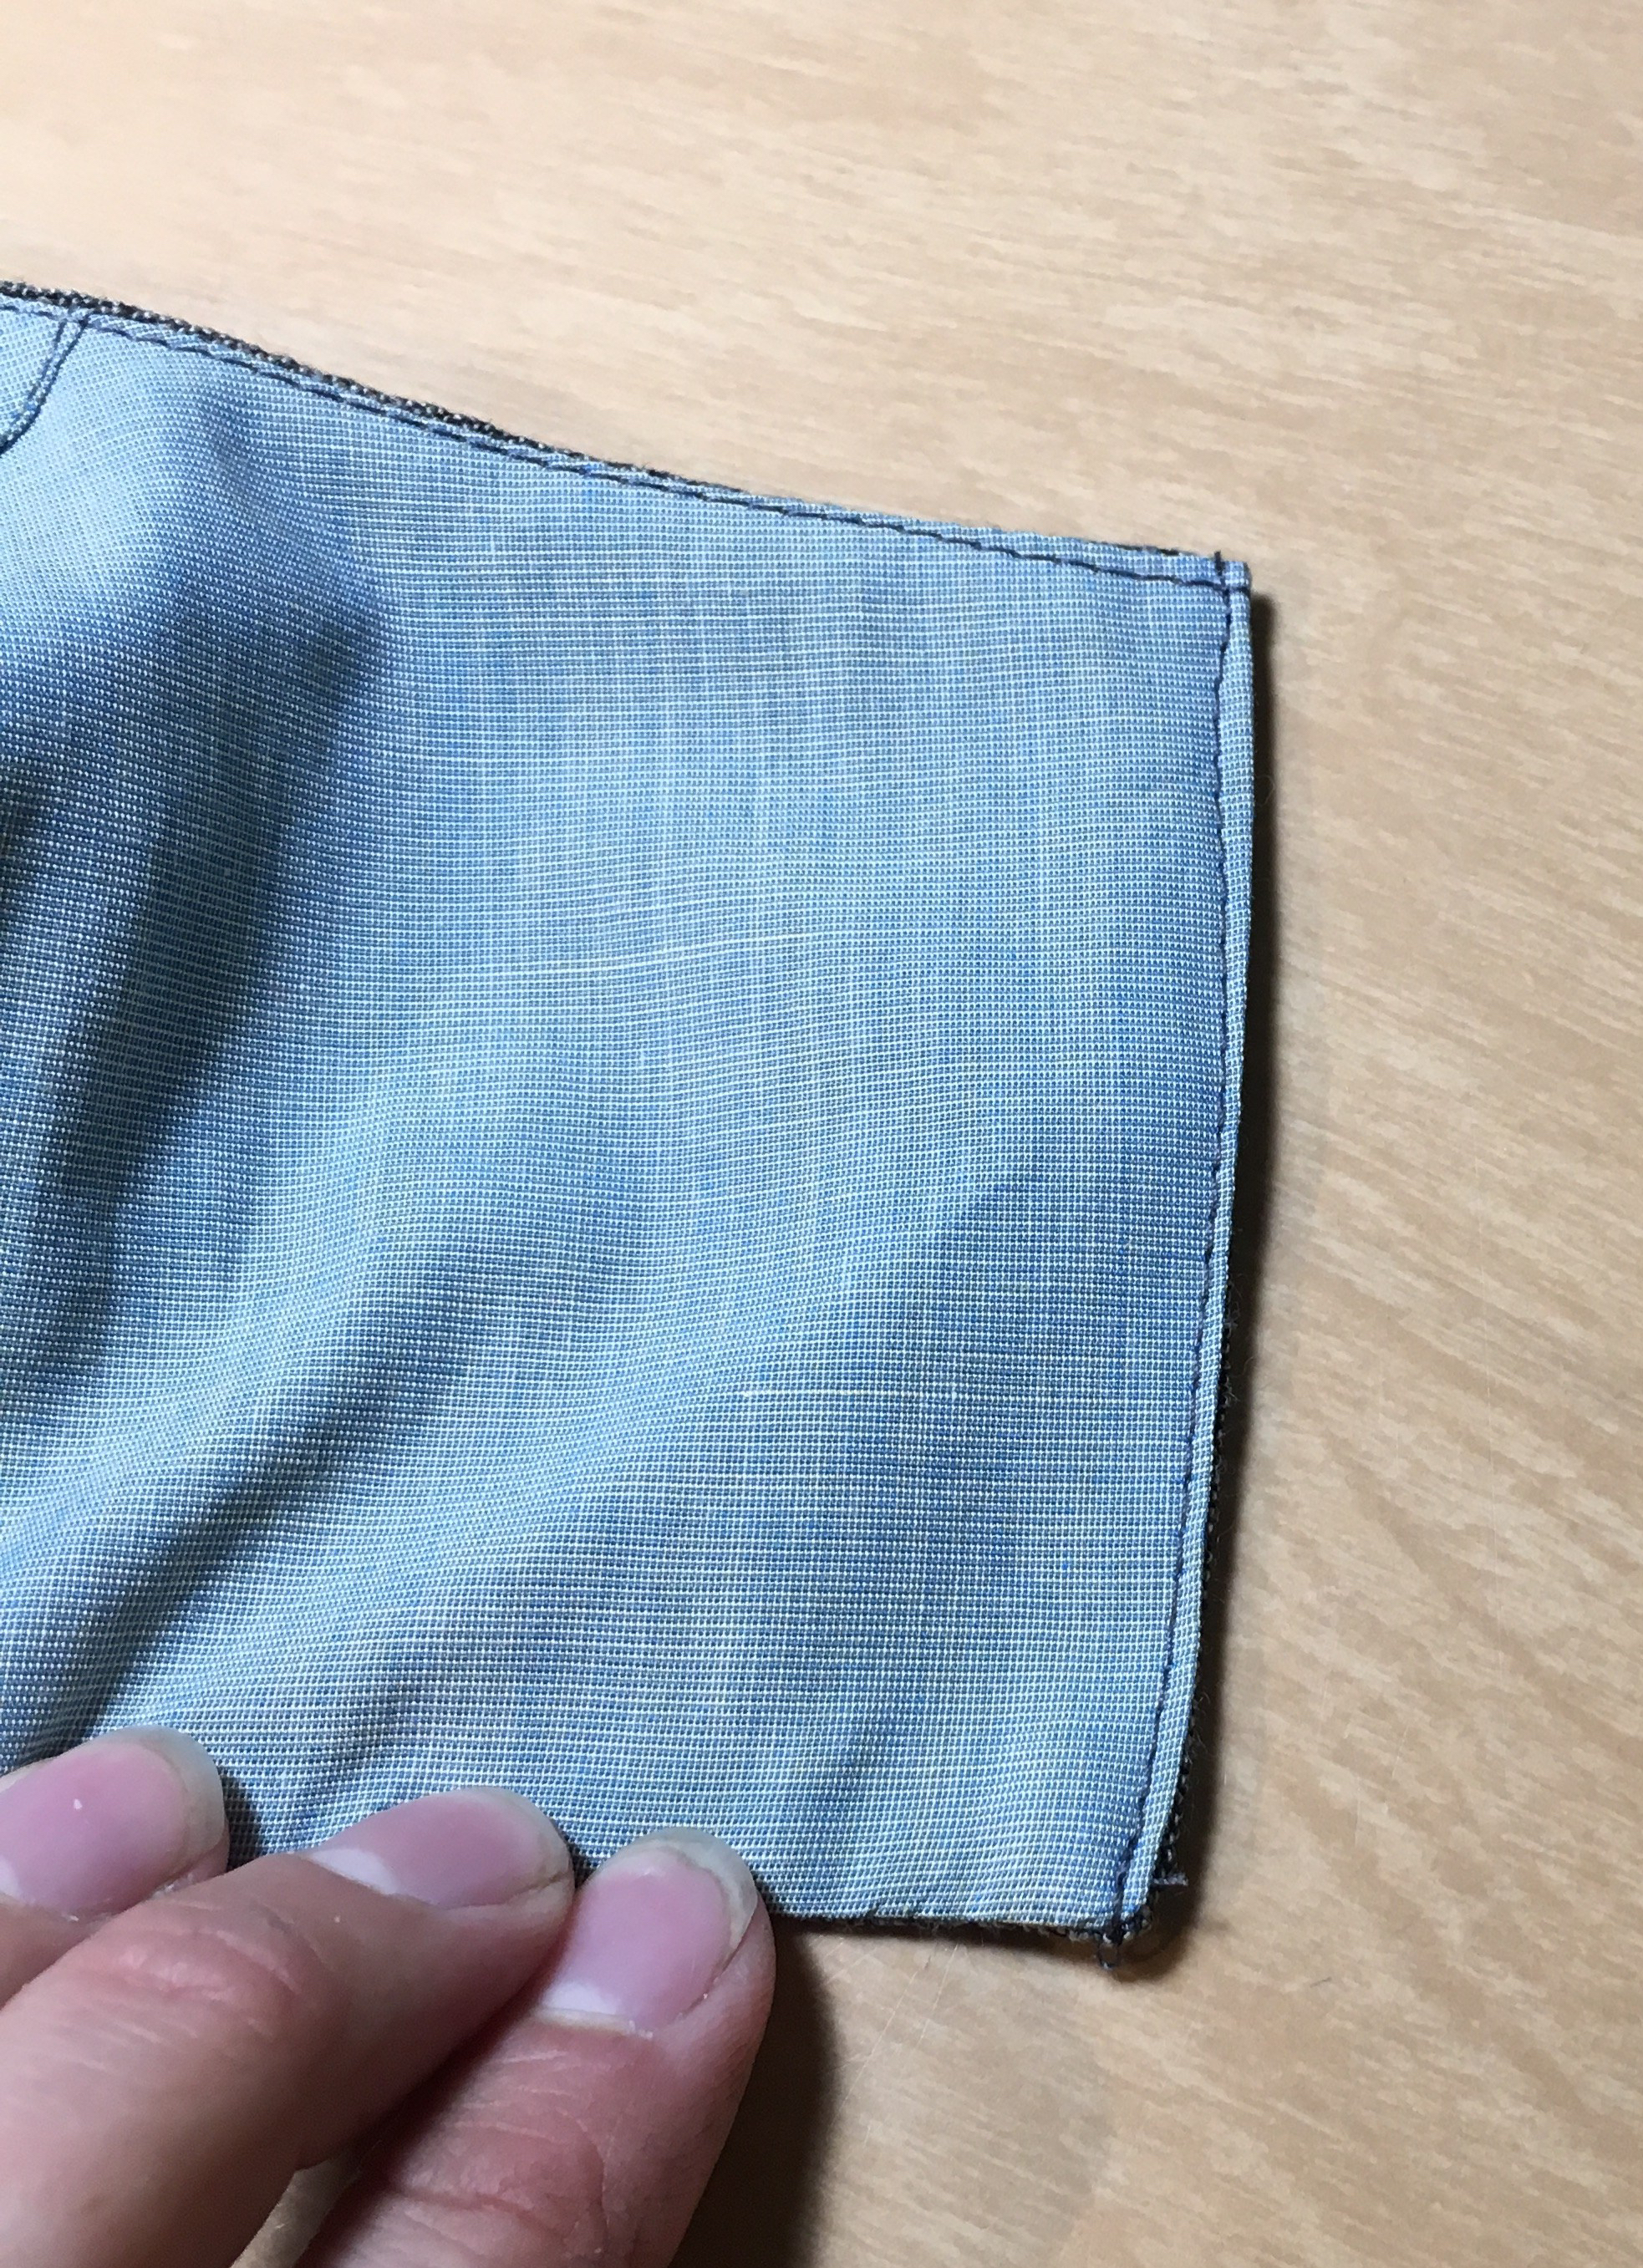
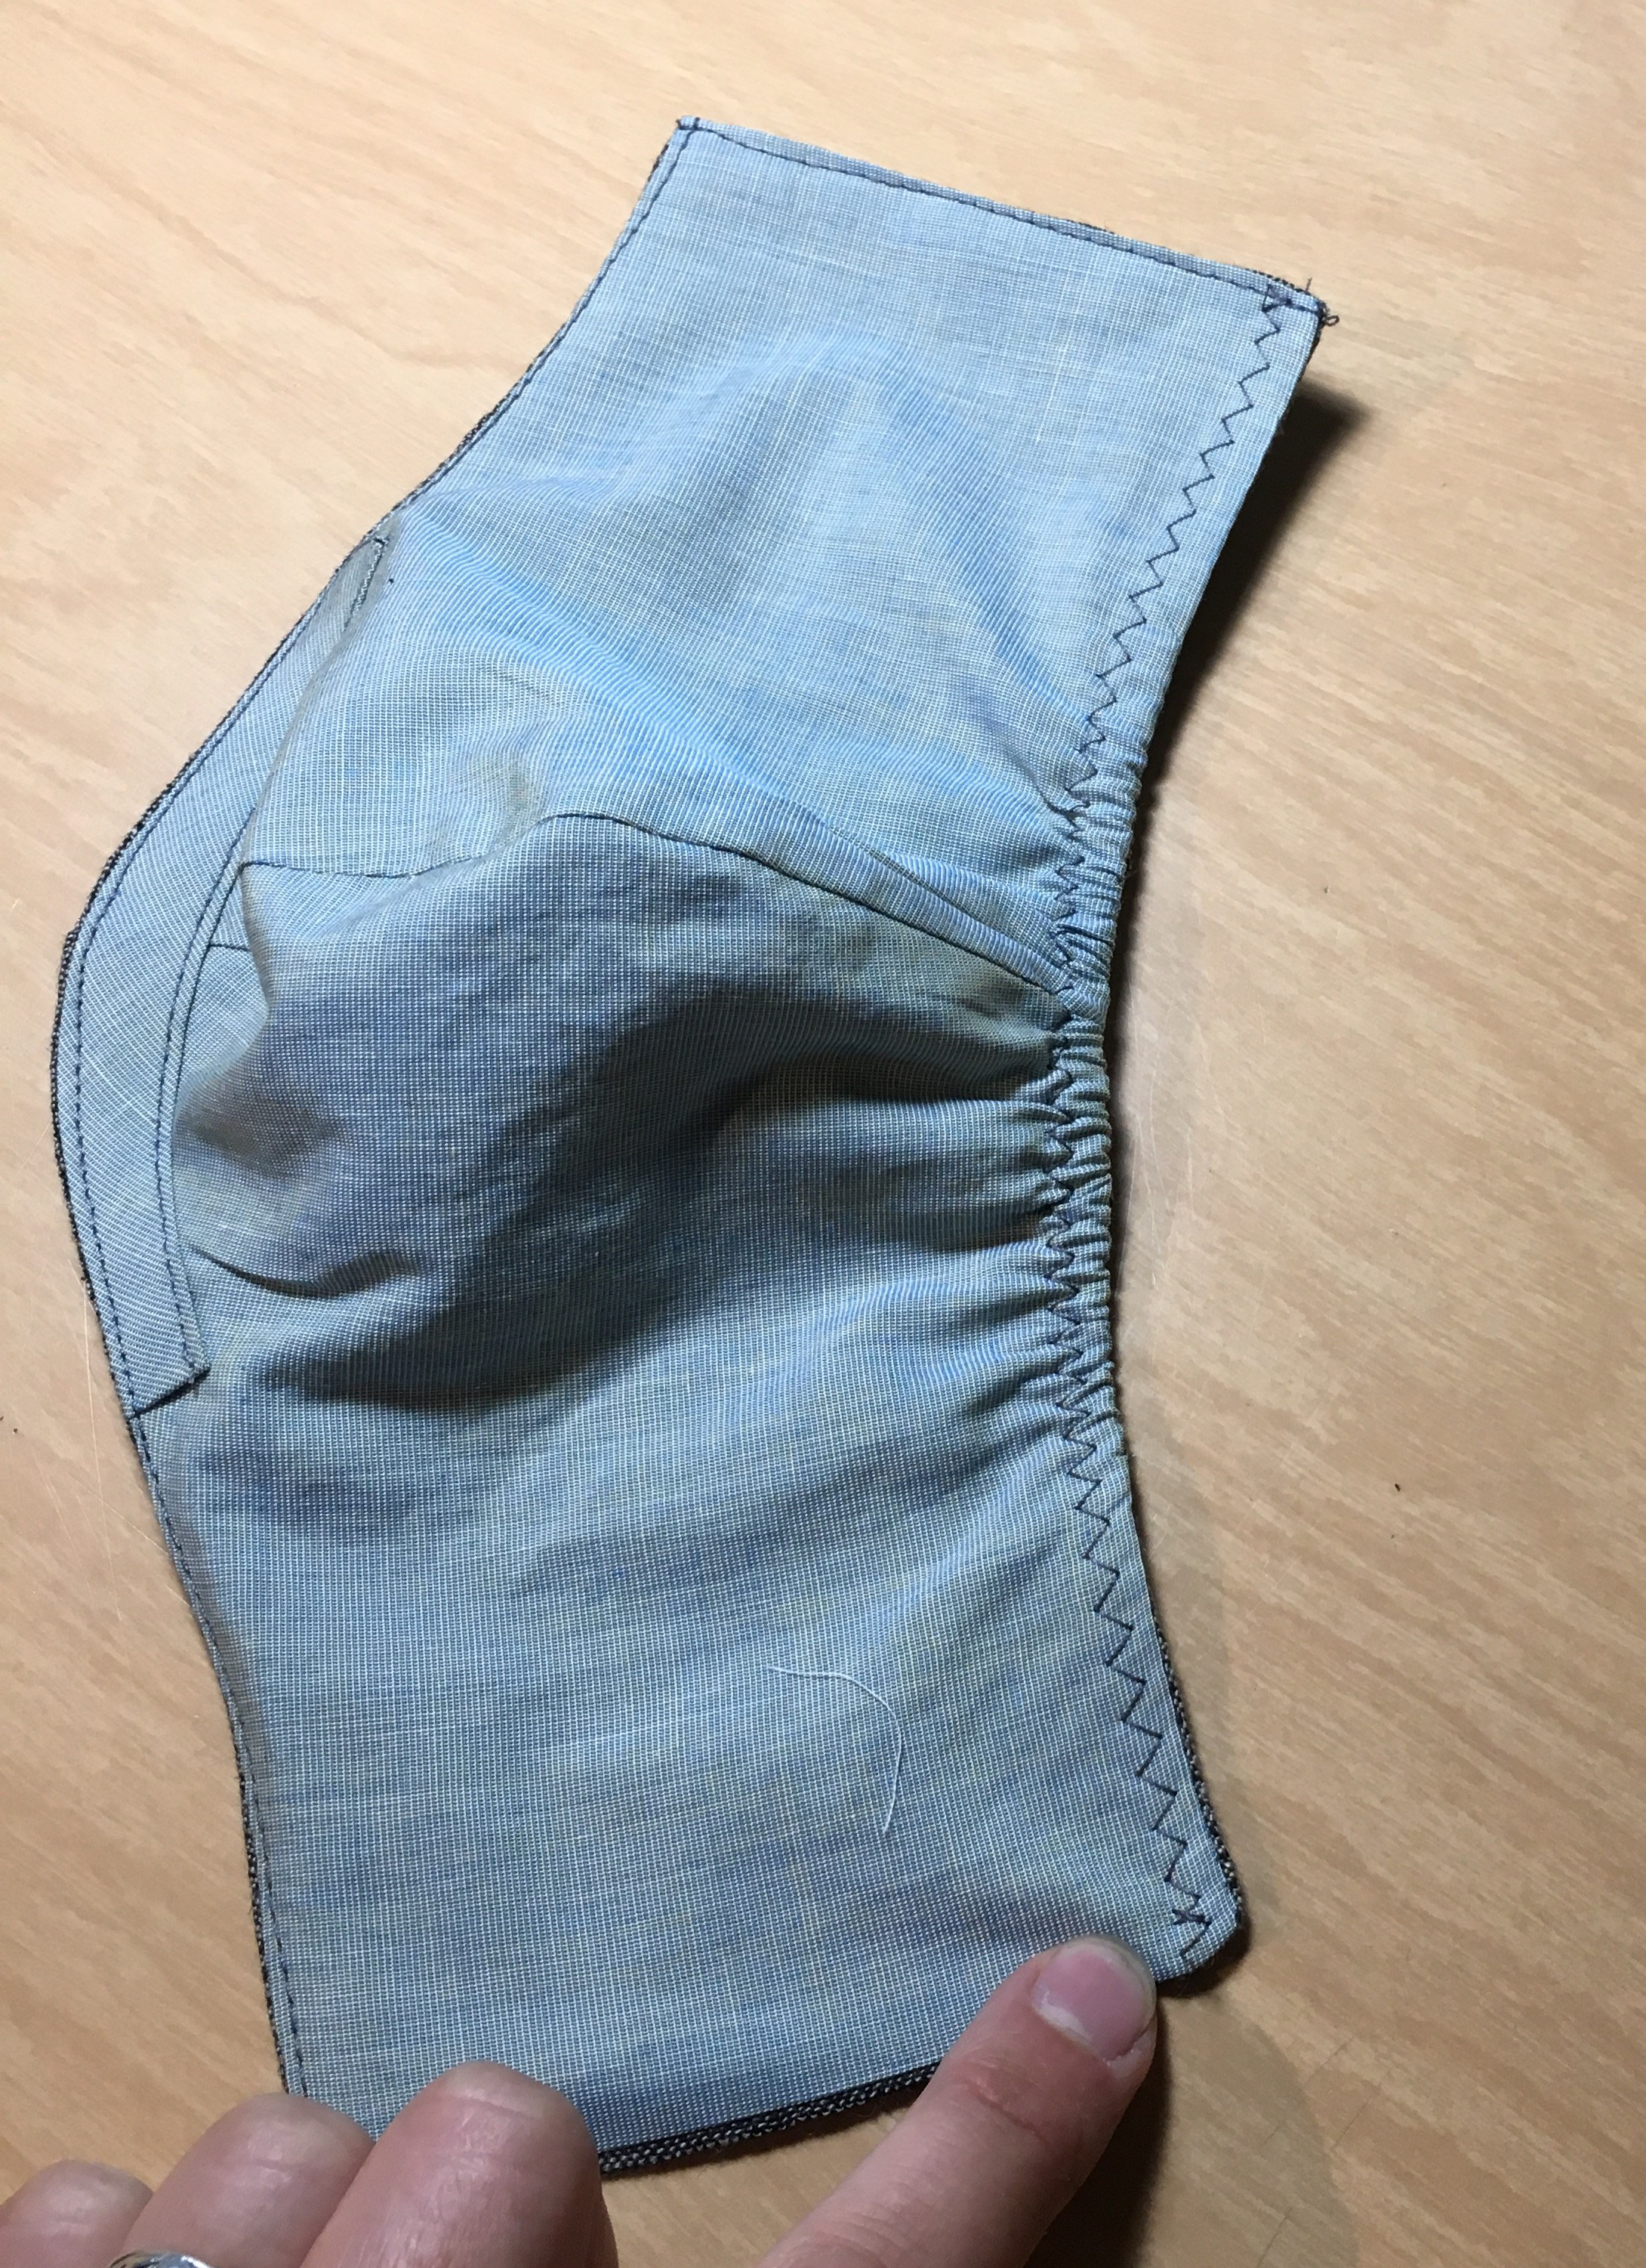
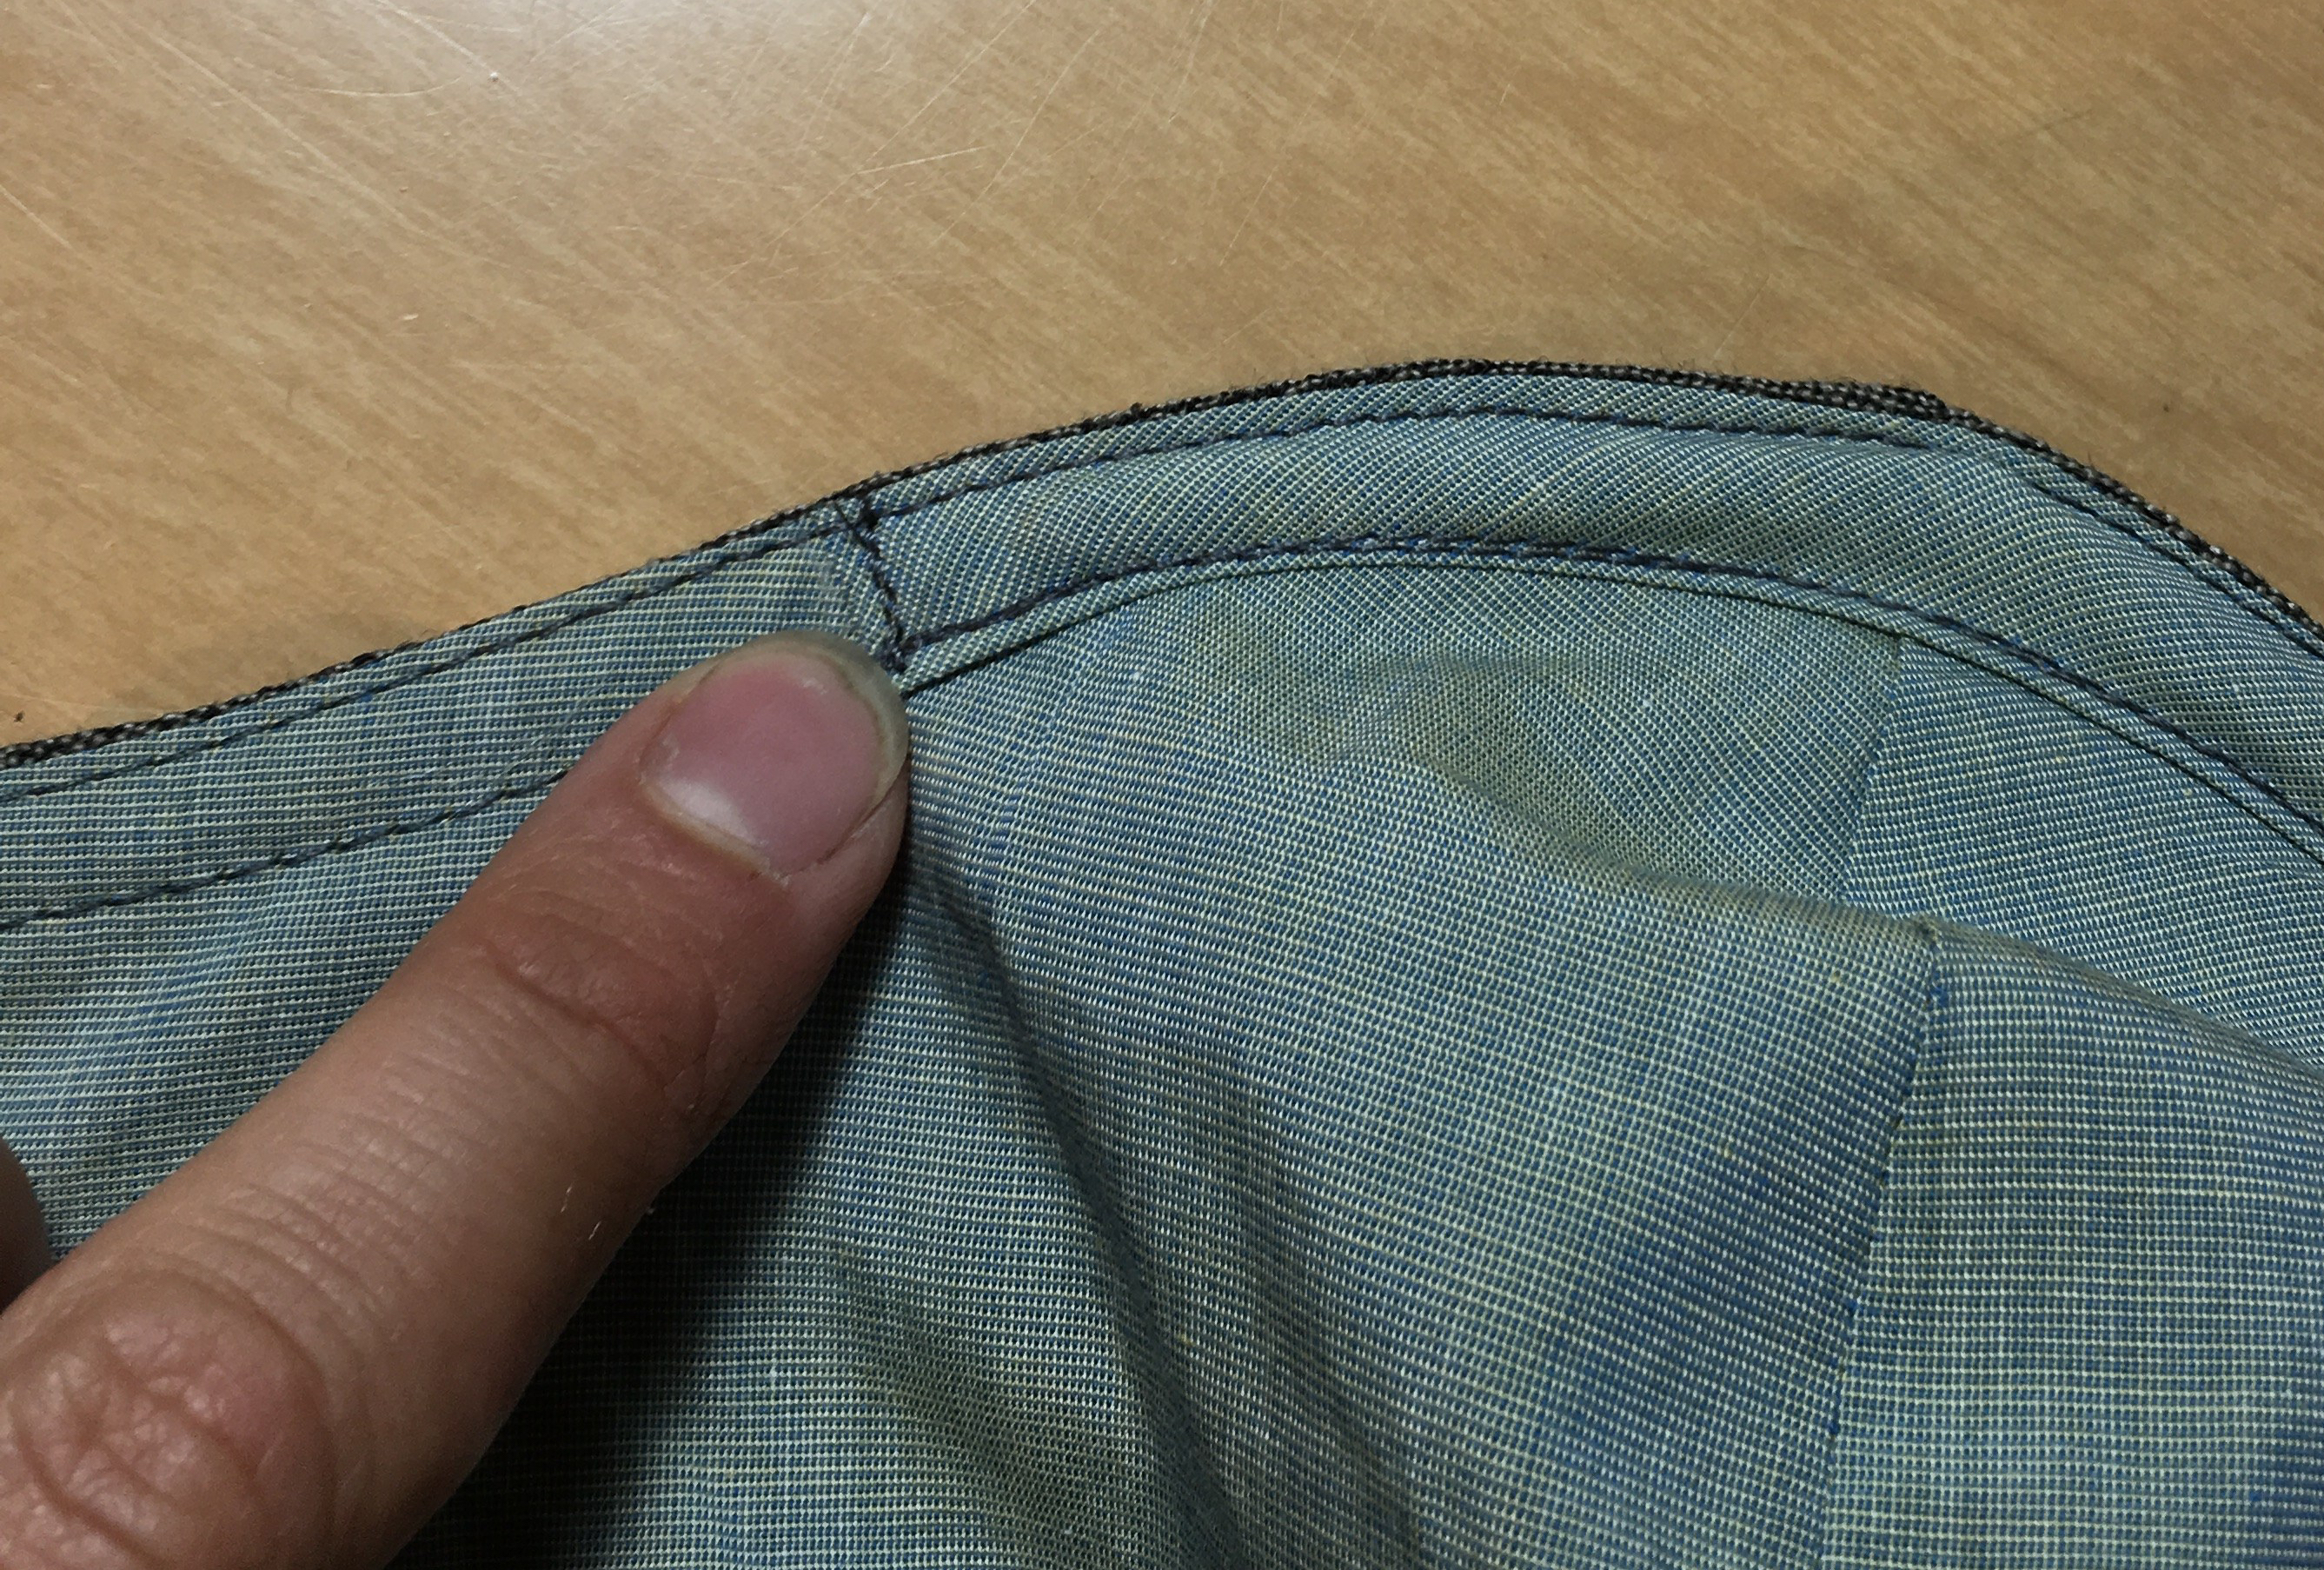
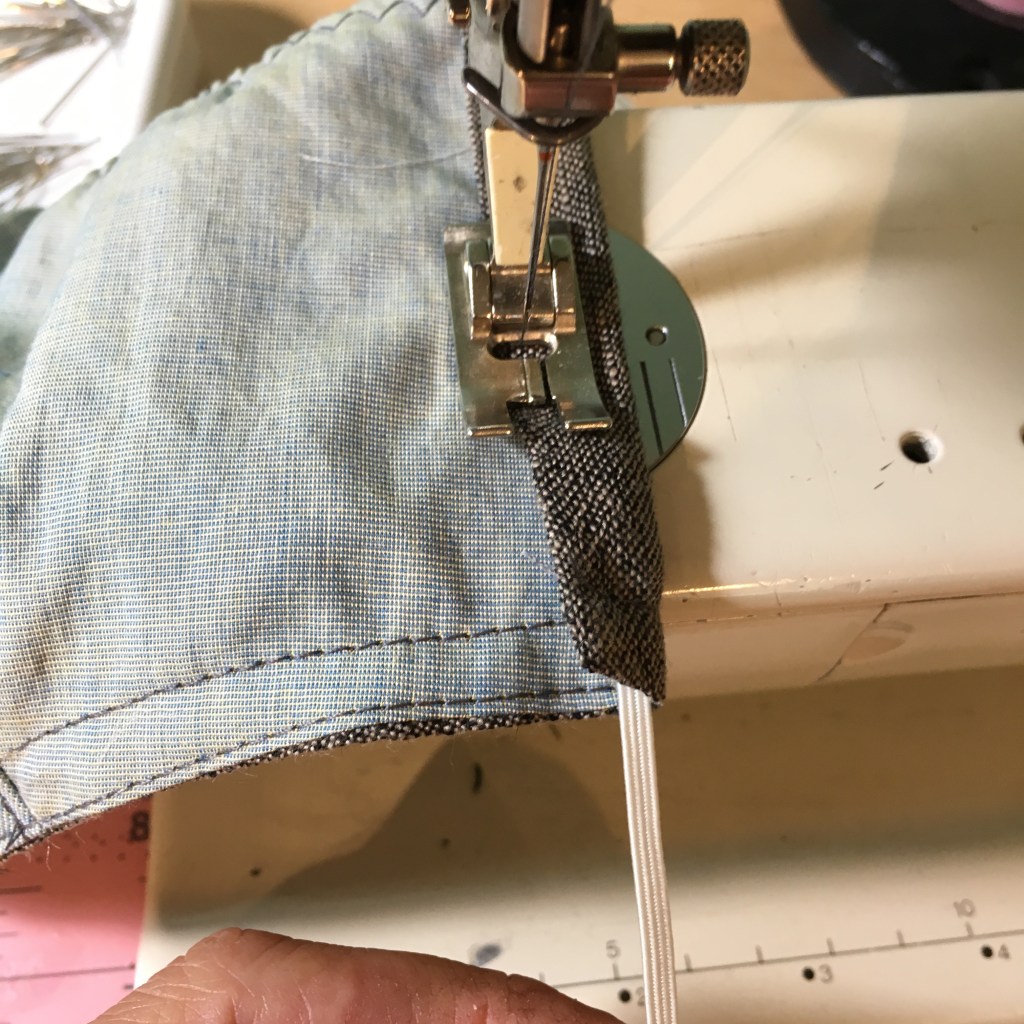
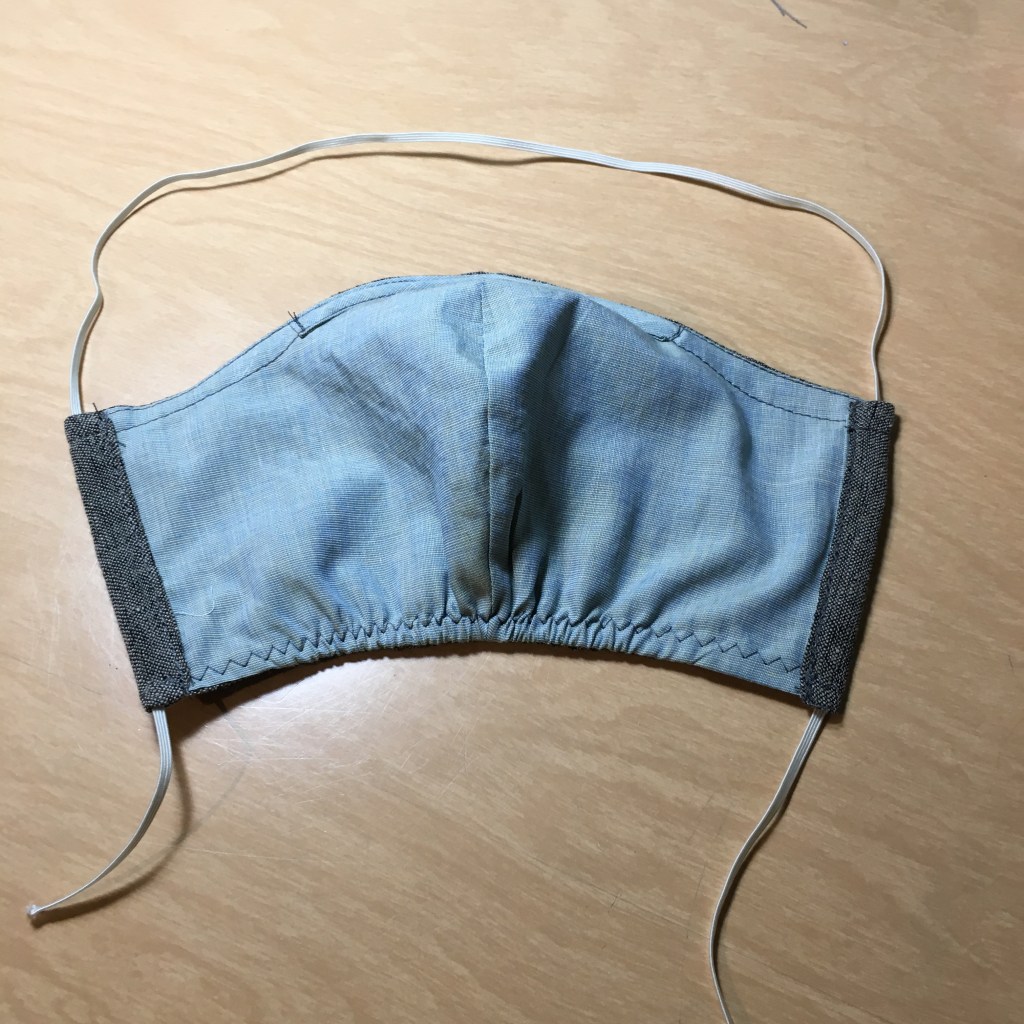
Sew the centre of the mask seam do this to fabric A and fabric B. The seam allowance should be the same as your pattern, this example uses 1/4″ seam allowances.Press seam towards one side. Pressing from the inside on a curve is a lot easierStretch the top edge of the wire channel. Because this fabric is on the bias, it should be able to curve with the top shape of the mask. This is done by stretching and ironing.This is what it looks like after it is hand stretched *top edge only*Curve more with the iron. Make sure to keep the bottom curve un-pressed* this is key for folding over the bottom edge later. You can do this by keeping the tip of the iron away from the seamPress up the bottom curvePress the short ends up 3/8″ (1cm)Pin the wire channel to the top edge of one layer of the mask.Edge stitch (topstitch) the channel along the folded edge. Make sure to leave one of the short ends un-sewnOne side openWith Good sides together pin Fabric B and Fabric A together at the top edge Stitch the layers together 1/4″ seam allowance (Same as pattern)Put a few shallow clips ( not the full depth of the seam allowance) along the curved parts. This curve only requires 1-3 clips spaced 1-1 1/4″ apart****Before pressing***** push the seam allowances towards the fabric that the wire channel is sewn to and edge-stitch through all layers.With good-sides-together pin the bottom edge of the layersStitch one short edge and pivot around to sew the bottom edgeMark 2″ from the short ends on the bottom edgePin one edge of the elastic to the marking you just madeZig-zag the elastic to the bottom edge. Make sure you stitch and hold your pins when sewingFlip the garment so that the seams are hidden inside.Press under the raw edges 1/4″Press all sewn edges. Make sure you stretch the bottom edge when pressing. Edge-stitch (topstitch) the pressed edges closedZig Zag stitch the bottom edge. This step will help your make stay flat after you take it out of the wash.Insert the wire. If you don’t have access to a stronger wire pipe cleaners can be used. This is not as strong, so consider doubling the thickness.Close the channel opening. This can be up-picked easily so you can replace the wire once it is worn out.Fold the short edges around your elastic and topstitch the edge over. This can be done without the elastic, but if you can keep it in there it saves you the step of adding the elastic straps in after.All Done! I added an extra top-stitching on the top edge to help after the wash. But is optional.


Leave a comment